Get Started
Easily start with pinDeliver by customizing your settings. Review our manual, key terminology, and use cases for the best experience.
Get Started
Getting started with pinDeliver is simple. In its simplest form, you can upload your orders from an Excel file. However, before you start, our recommendation is to read through this manual to gain knowledge about all the functionalities available in pinDeliver. You are also required to adjust some settings to make them customized for you and your business. This will help you maximize all benefits of pinDeliver and enrich your experience.
The first step is understanding the terminology and definitions used in the platform. You can find them in Terminology.
To guide you through which settings you are required to adjust before starting to plan your deliveries, please read our Use Cases.
Our interfaces
The pinDeliver platform has several interfaces and these can be viewed as various methods or approaches for engaging with the platform. The usage of the different interfaces is optional, and you can simply choose the interfaces that suit you and your business best.
On this page, you will find descriptions of each interface.
Main menu
The main menu in pinDeliver adjusts itself based on the company’s activated features and the user’s permissions. This means that the main menu may not necessarily resemble the images on this page.

Refer to the information below for details about the various sections of the main menu.
Overview
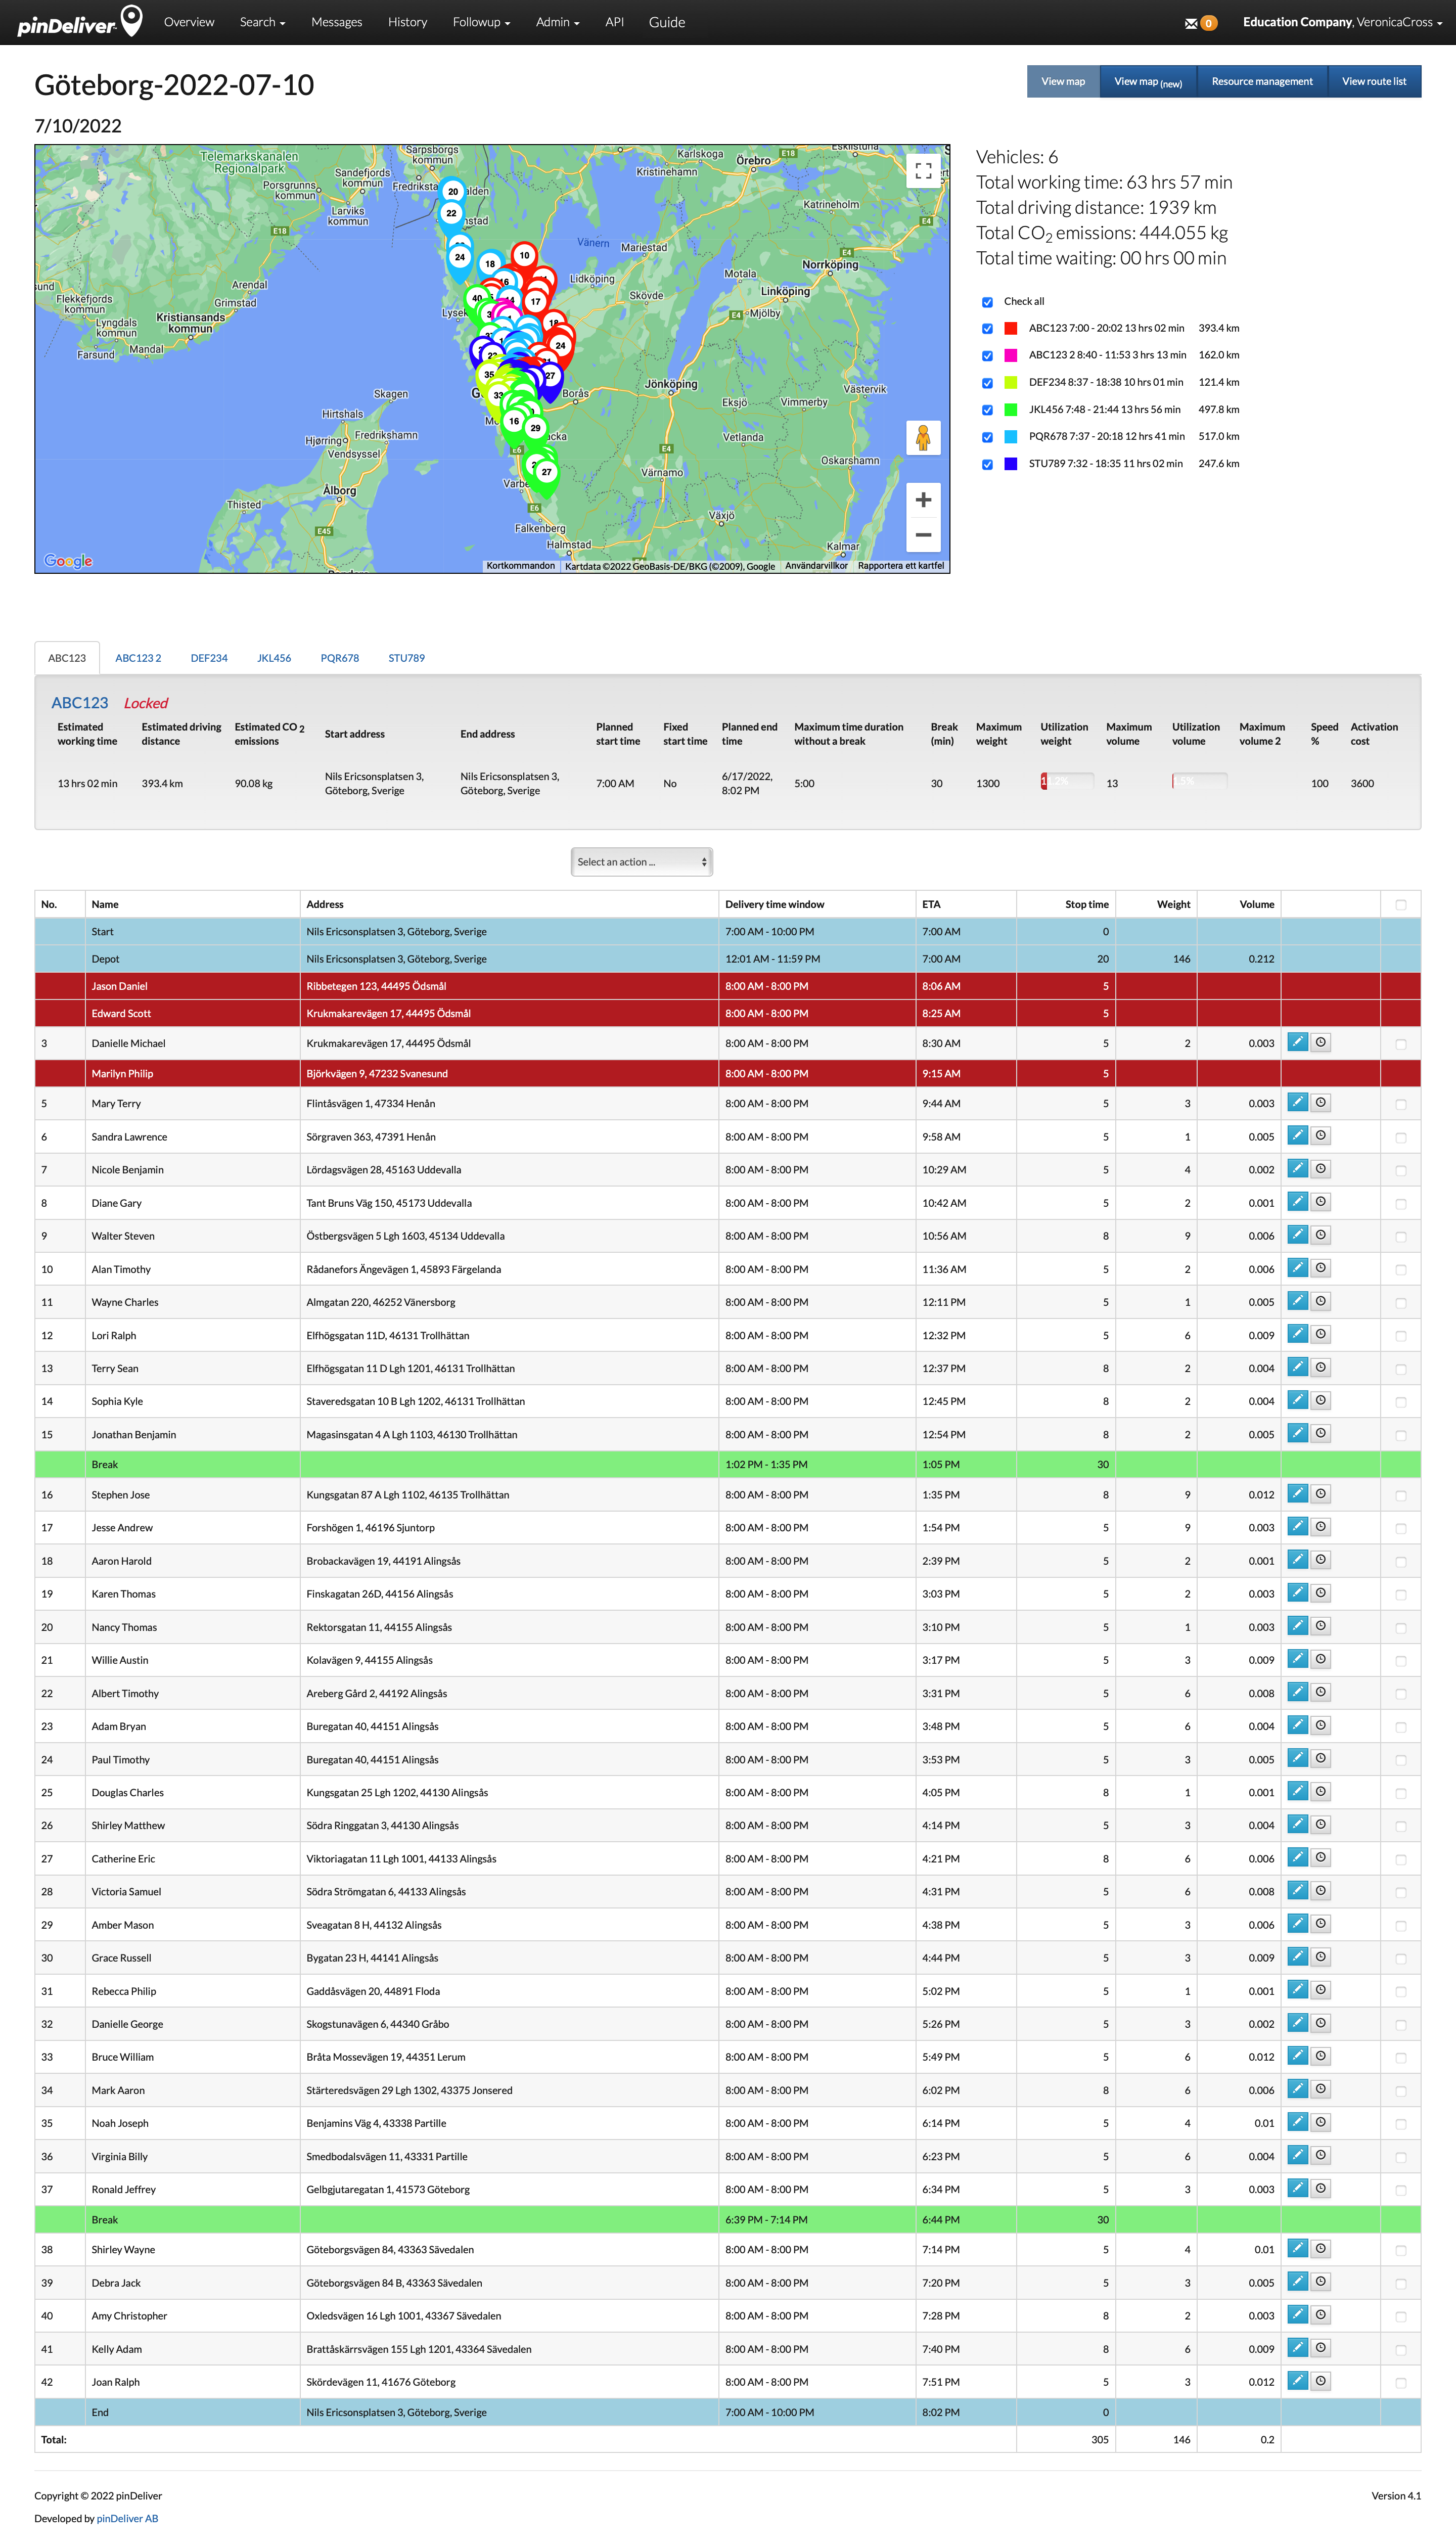
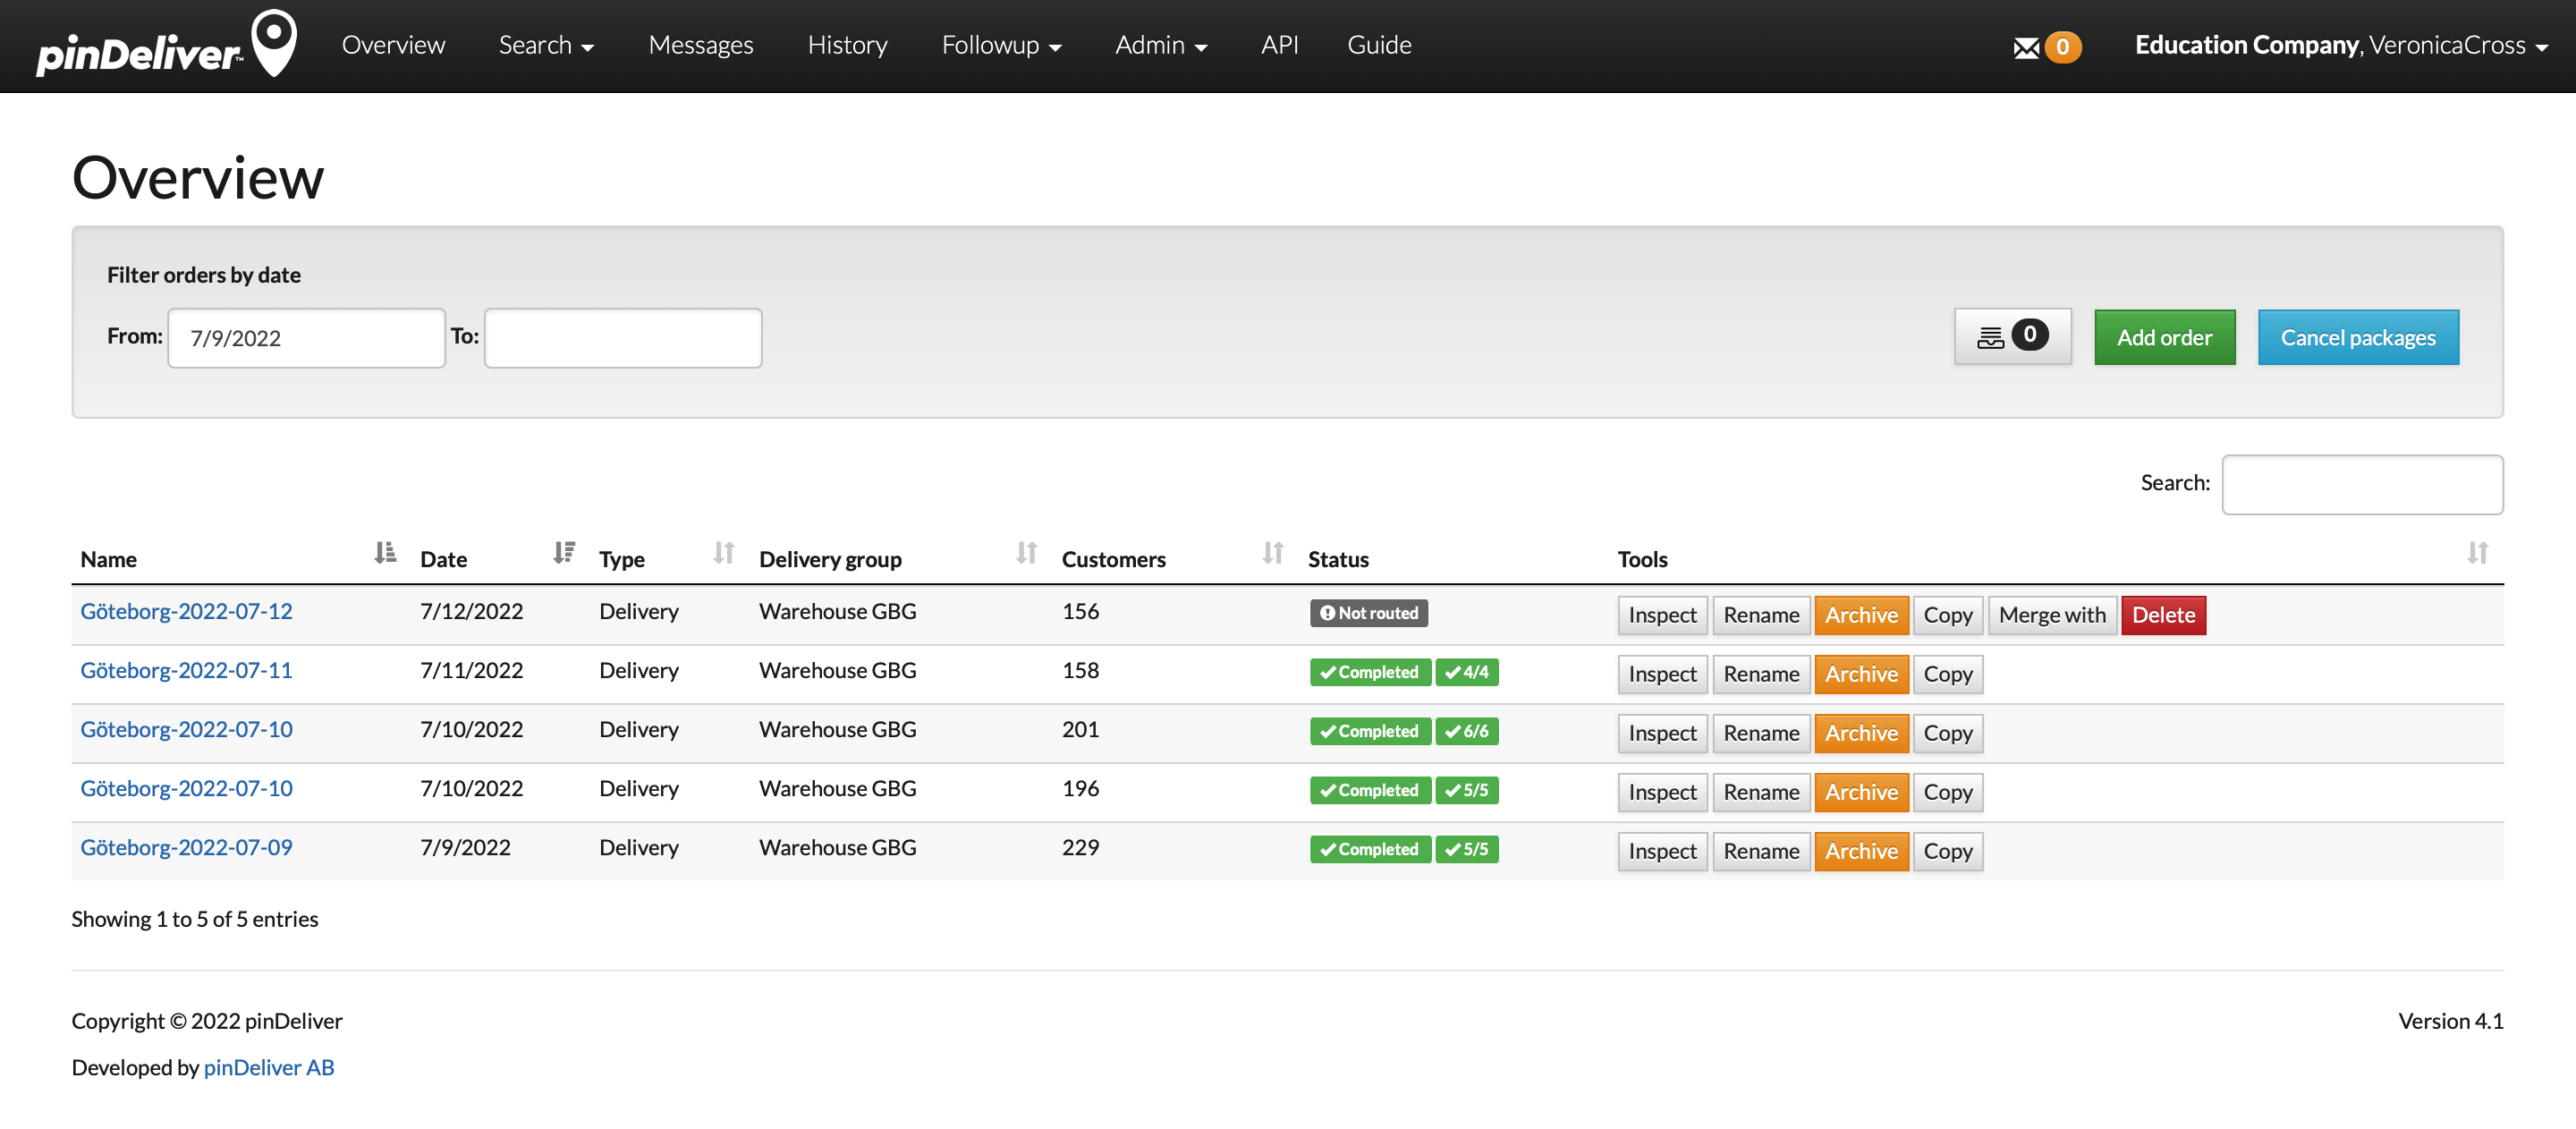
The Overview section functions similarly to the pinDeliver start page, providing an overview of all planning orders. By default, this page displays planning orders from the last 3 days, but you can customize the date filters as needed. You can access this page by clicking on the pinDeliver logo in the top left corner.
To upload orders from an Excel file, simply use the green Add order button located on the right side..
Orders that have been uploaded or imported to the Inbox can be accessed by clicking on the grey button that displays the number of orders in the inbox.
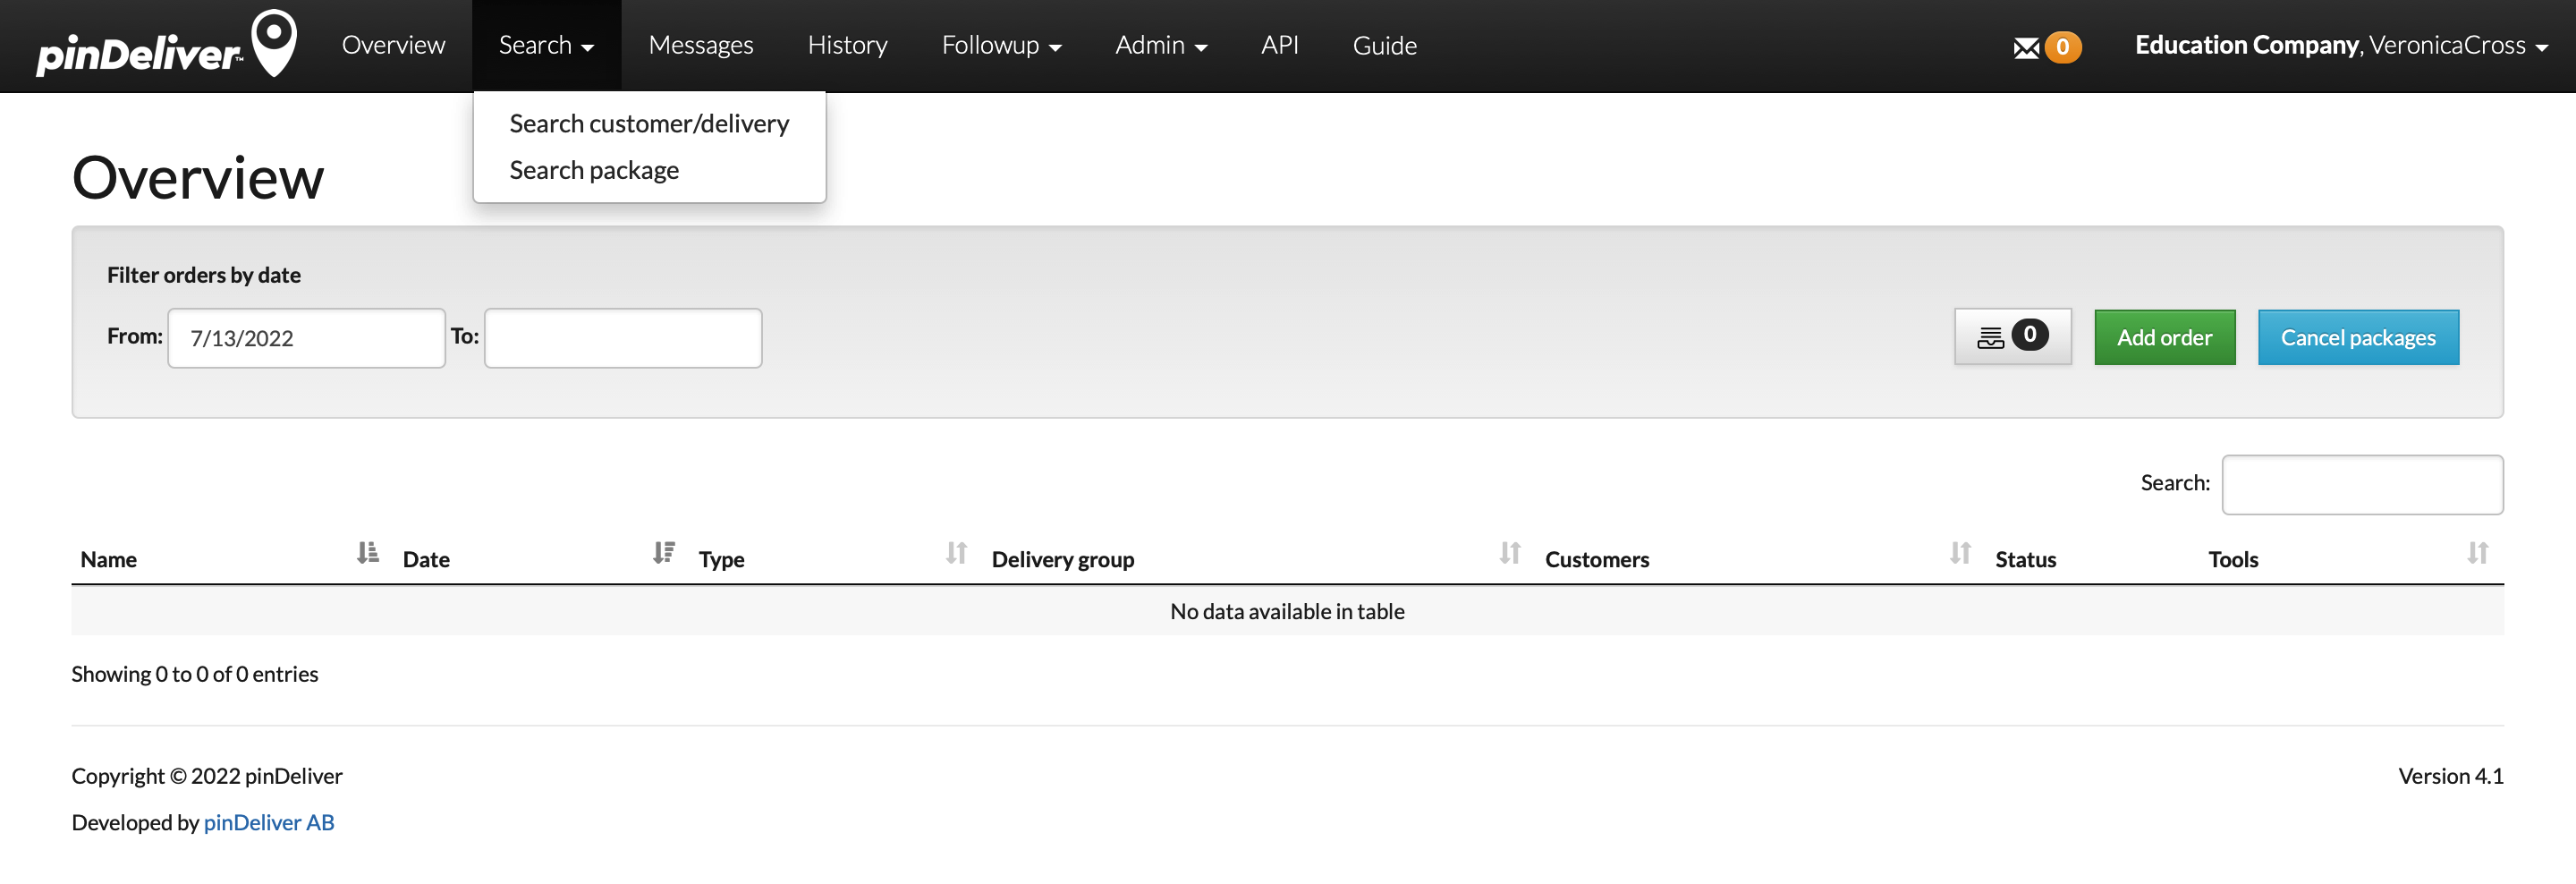
Within the Search menu, you have two different options:
- Search Customer/Delivery: Use this option to search for a customer order.
- Search Package: Use this option to search for a specific package and access additional details.
Search customer/delivery
To easily find a customer order, you can use the Search Customer/Delivery feature within the Search menuon the main interface. You have the flexibility to search for customers using various criteria. You can choose specific fields to refine your search or leave all fields selected for a broader search. For instance, if you search for “Göteborg”, you will retrieve all customer orders with “Göteborg” in the name or city unless you modify the search fields.
The available search fields include:
- Tracking number
- Customer number
- Name
- Address
- Zip code
- City
- Phone
- Reference
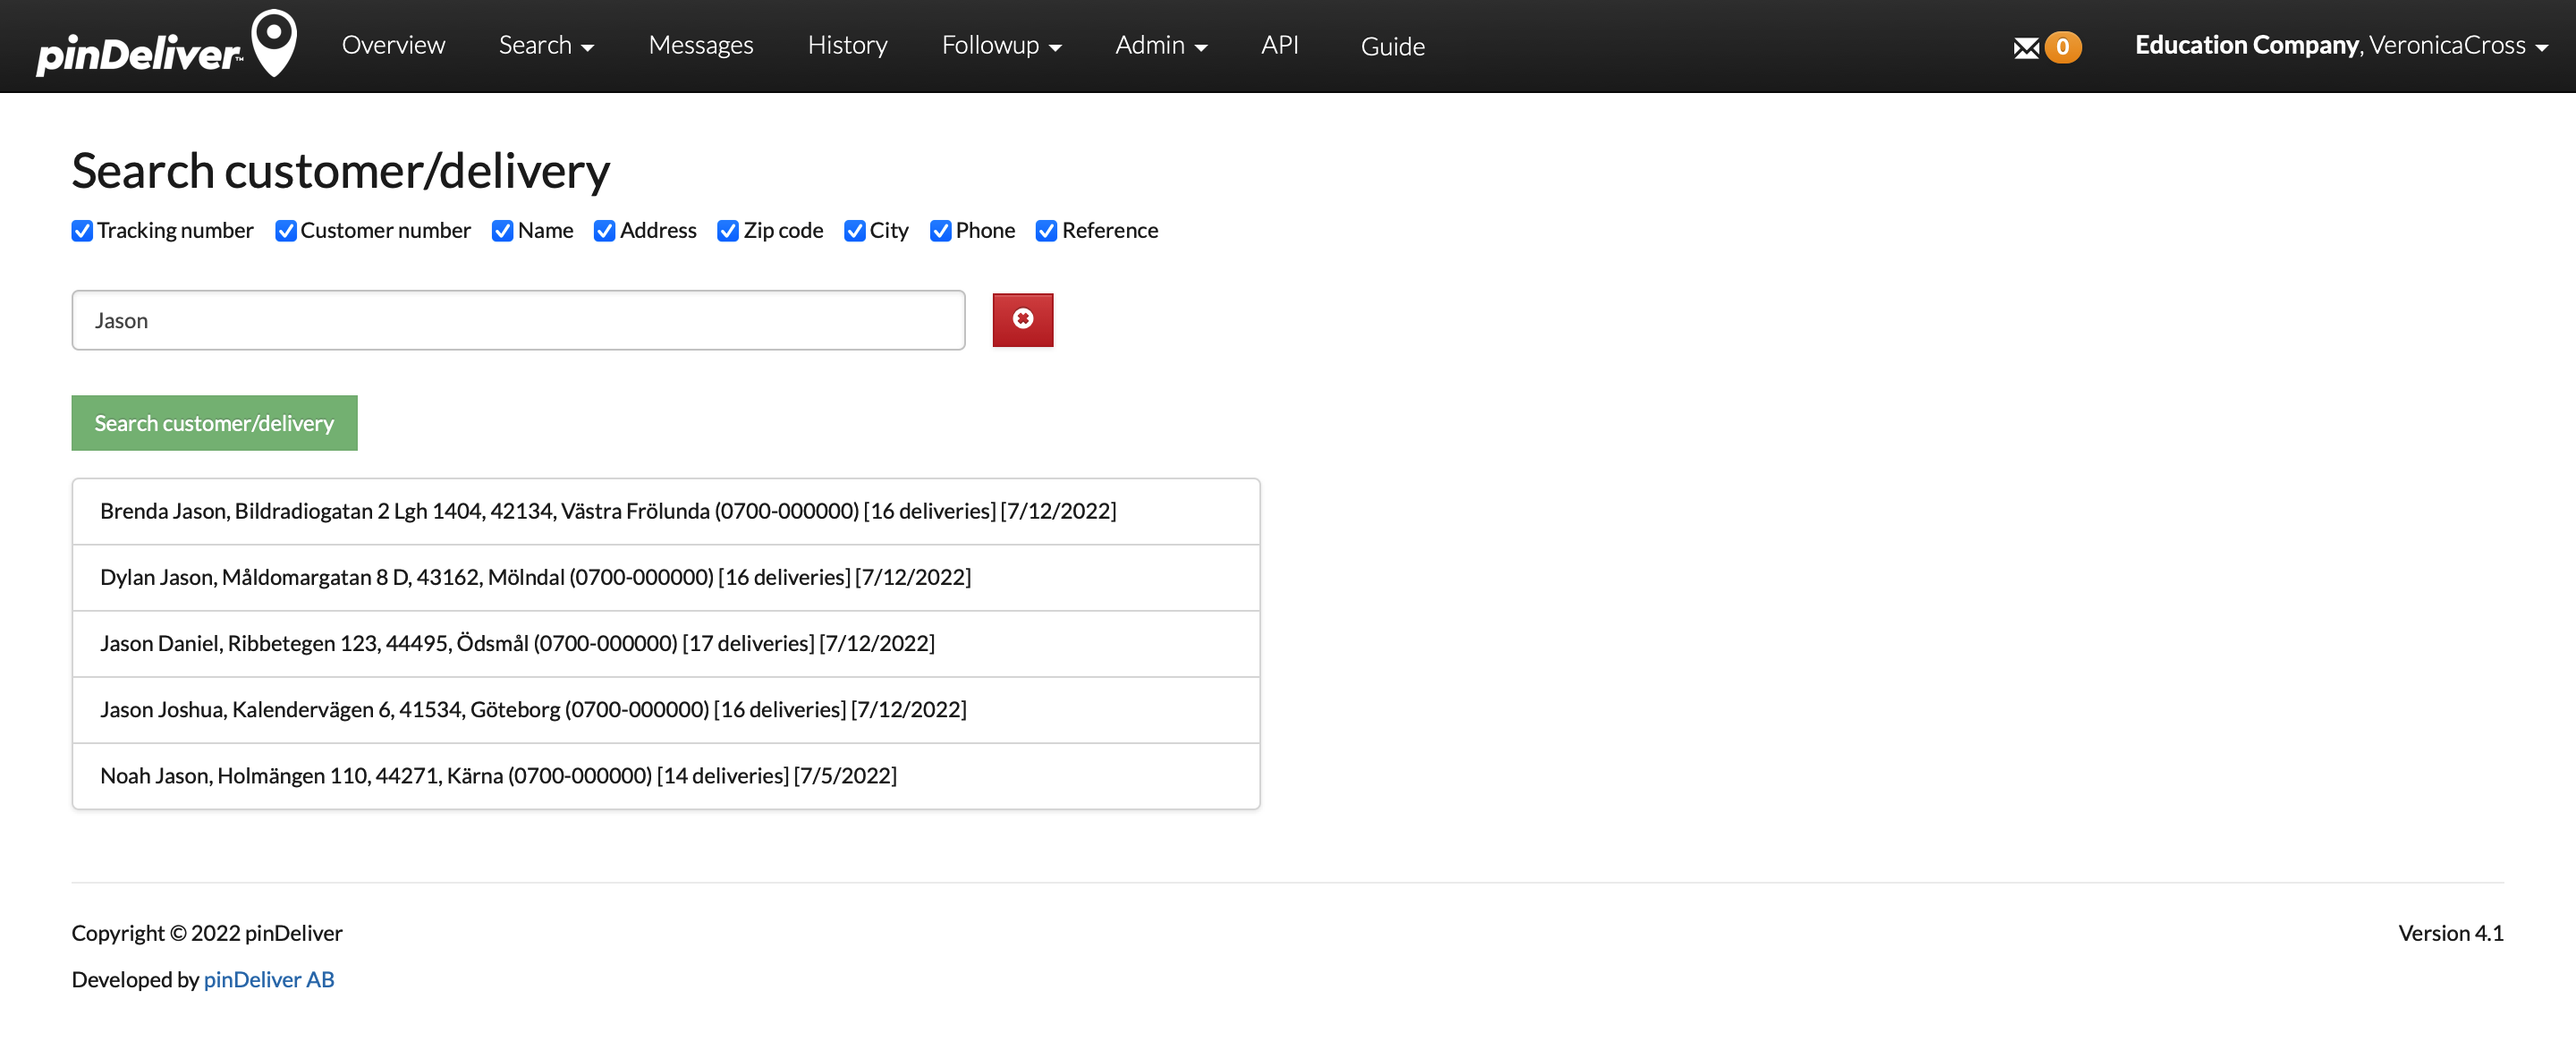
Following a search, you will receive a list of all customers. You can also view the total number of orders associated with each customer. Clicking on a customer’s name will navigate you to a detailed list displaying all customer orders attributed to that specific customer.
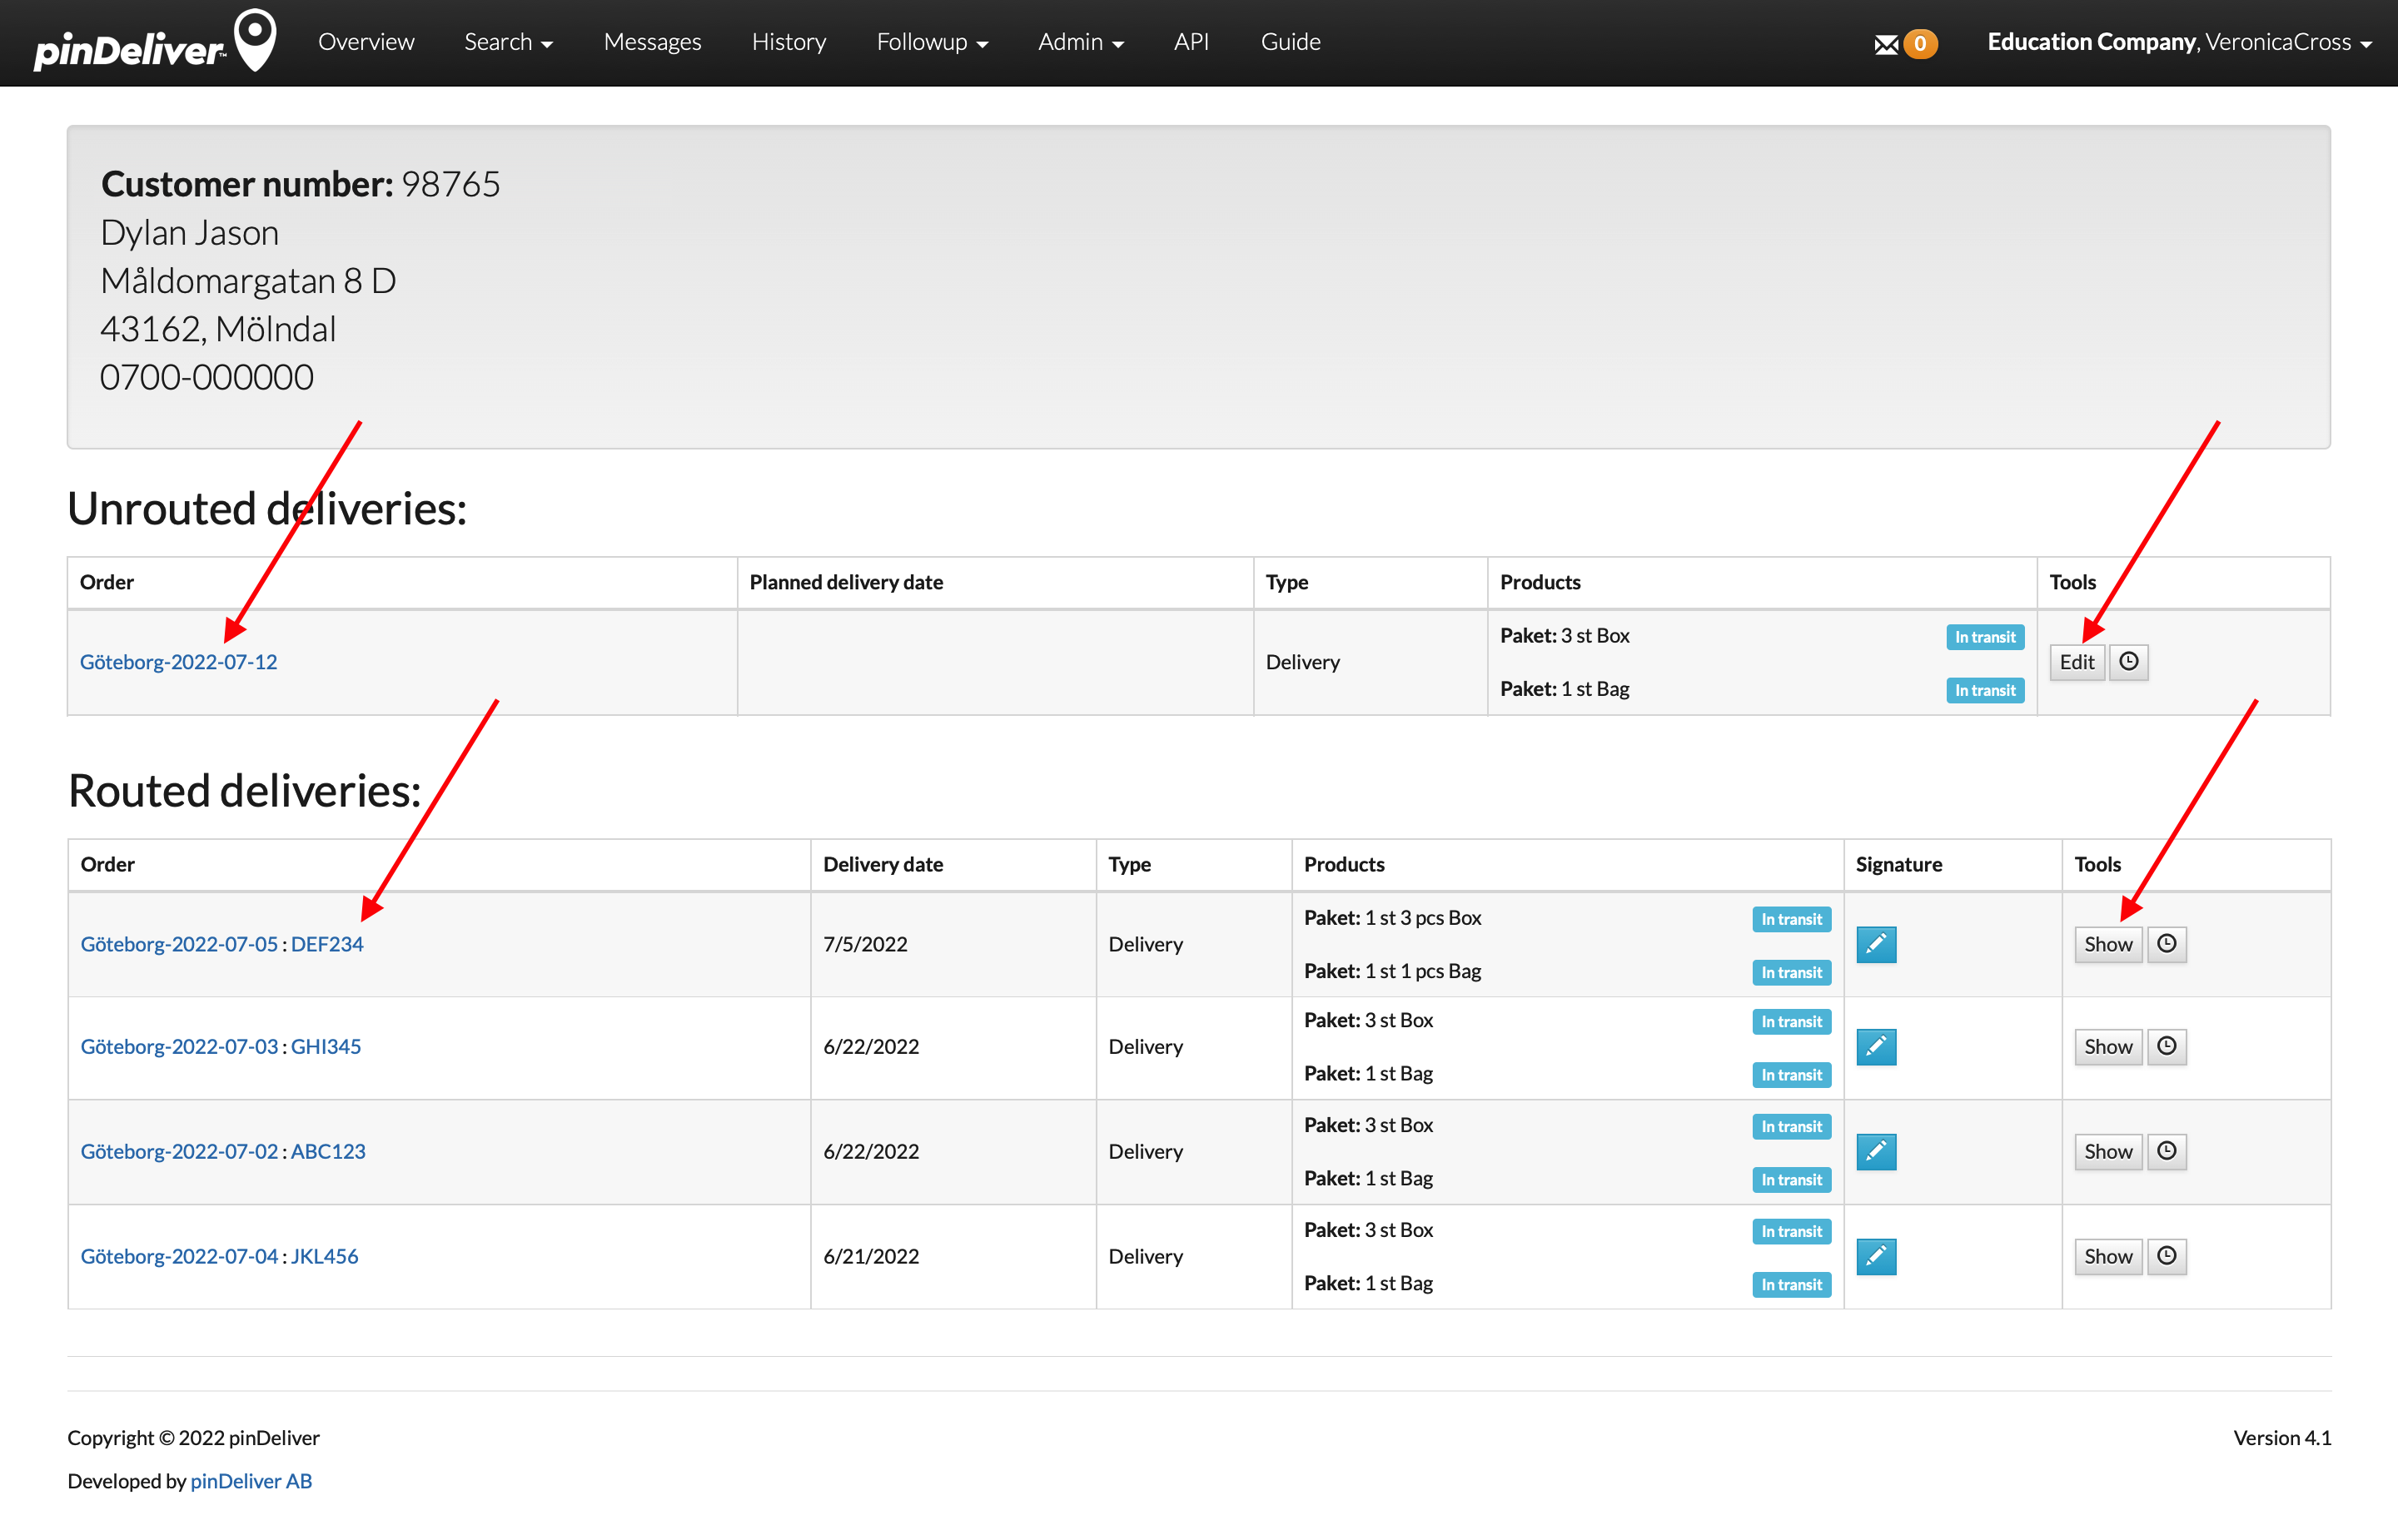
The list of customer orders is categorized into “Routed Deliveries” and “Unrouted Deliveries”. To access a specific order, simply click on the Edit or Show buttons located to the right. Alternatively, clicking on the customer’s name will display all of their orders within a route or planning order.
Search for Packages
To efficiently find a package, utilize the Search Package functionality found in the main menu under Search. Within the list of packages, you can apply filters based on date, delivery group, route name, and package ID. The list provides real-time package status updates.

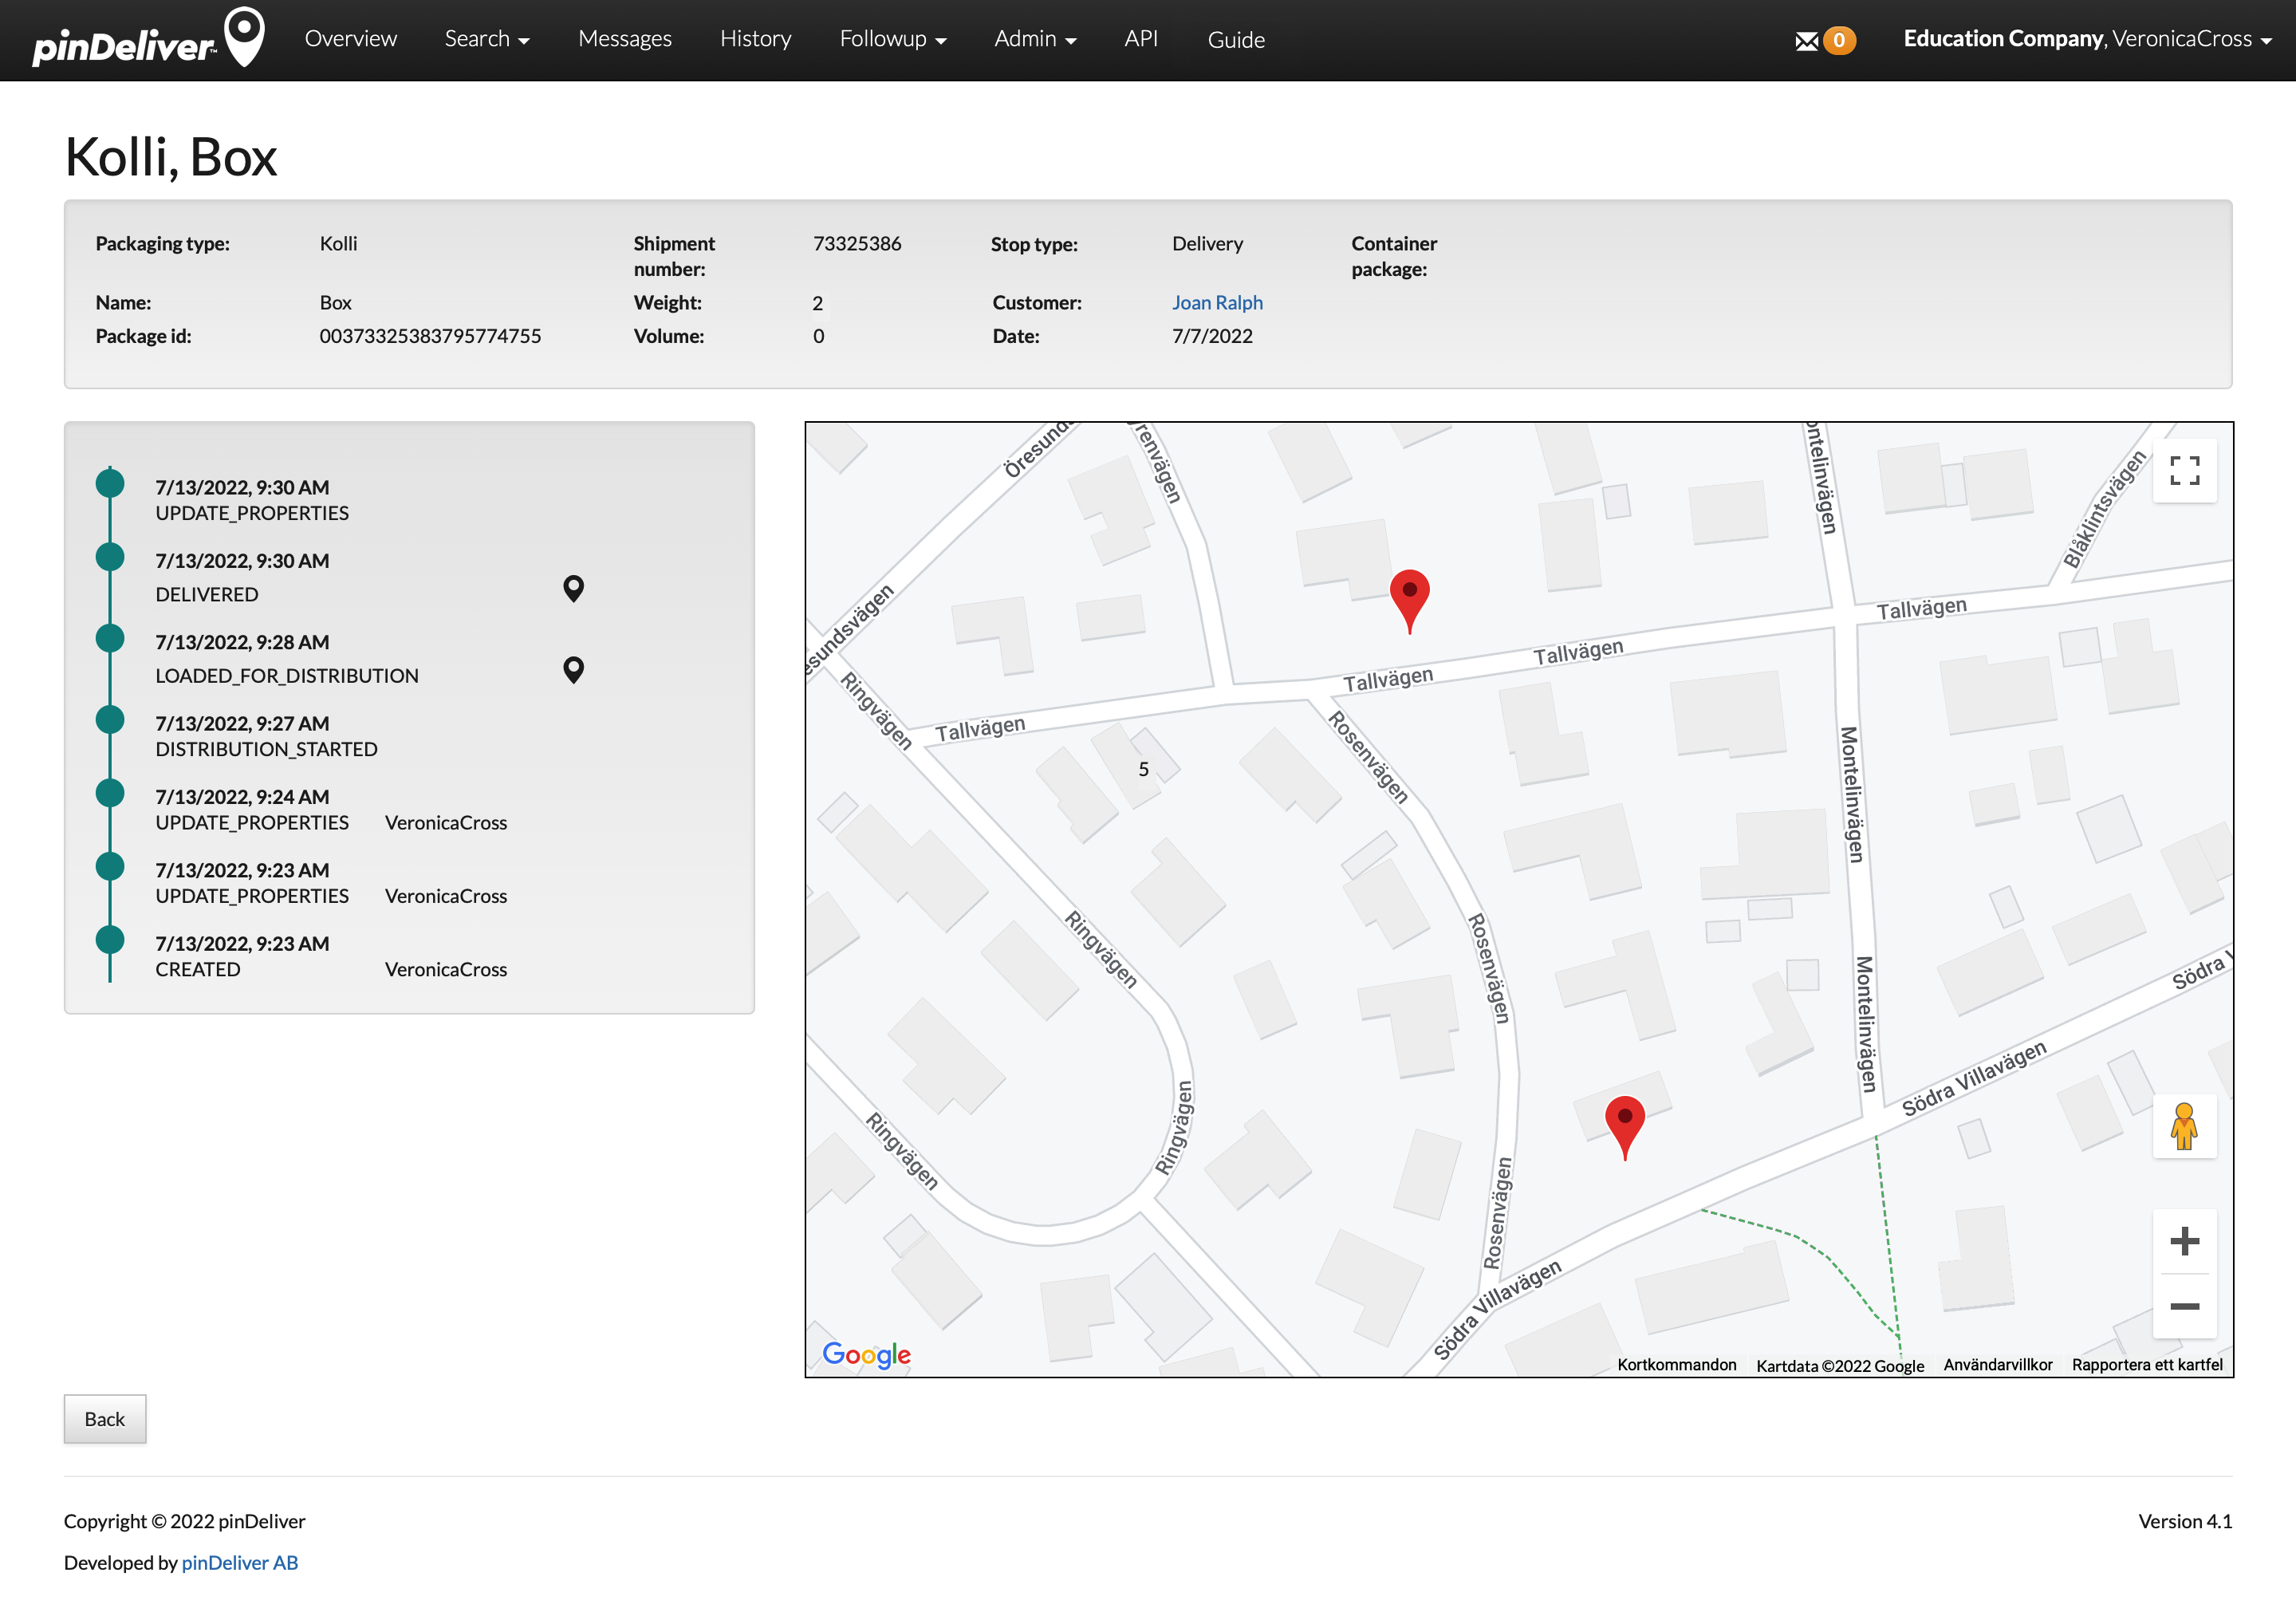
For a detailed view of the package’s lifecycle, simply click on the Package ID. On the subsequent page, you will find timestamps detailing all events related to the package. Additionally, you can track its physical movement on a map.
In case of any issues or if you need to modify the package status, select the package in the list, and then choose Action / Return to Previous Status.
Messages
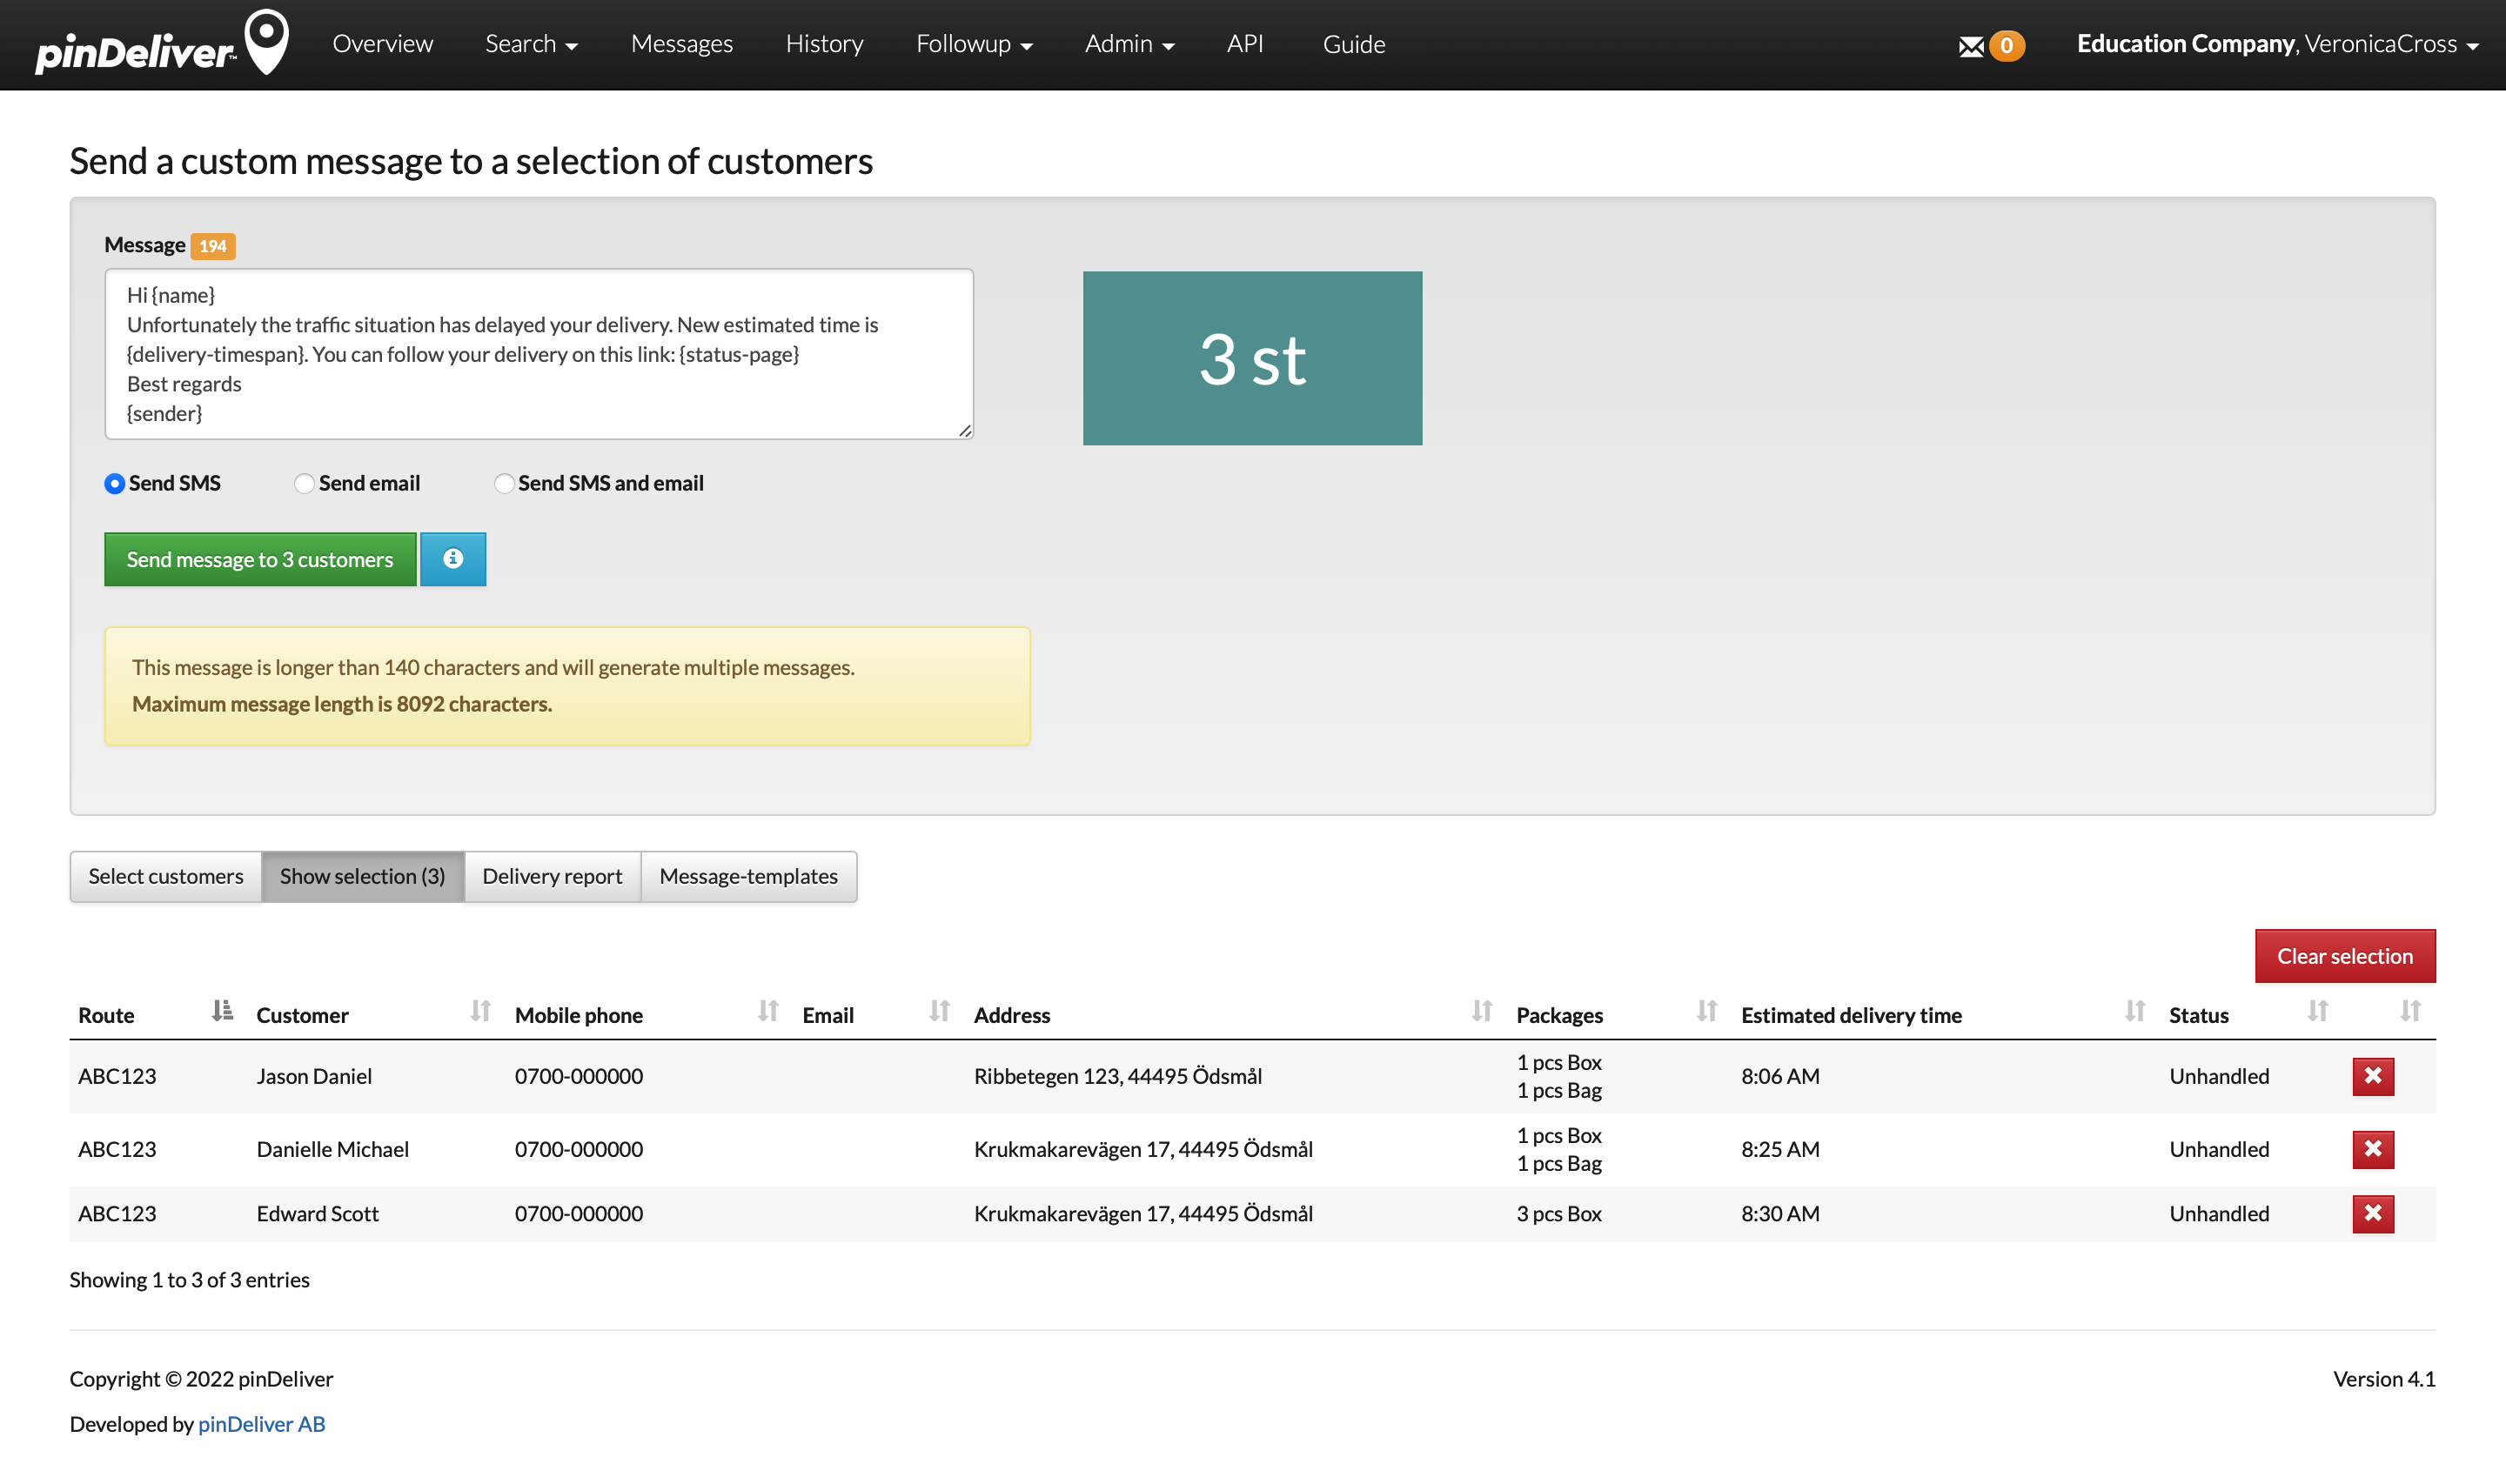
You have the option to send personalized messages via SMS or email. This functionality can be initiated from various routes or manually by selecting this menu item. You can either compose an ad-hoc message or use templates.
The message functionality is particularly useful for sending manual messages in cases of route delays or other unforeseen circumstances affecting remaining customers. For more details on this functionality, read “Send custom messages” in Office.
History
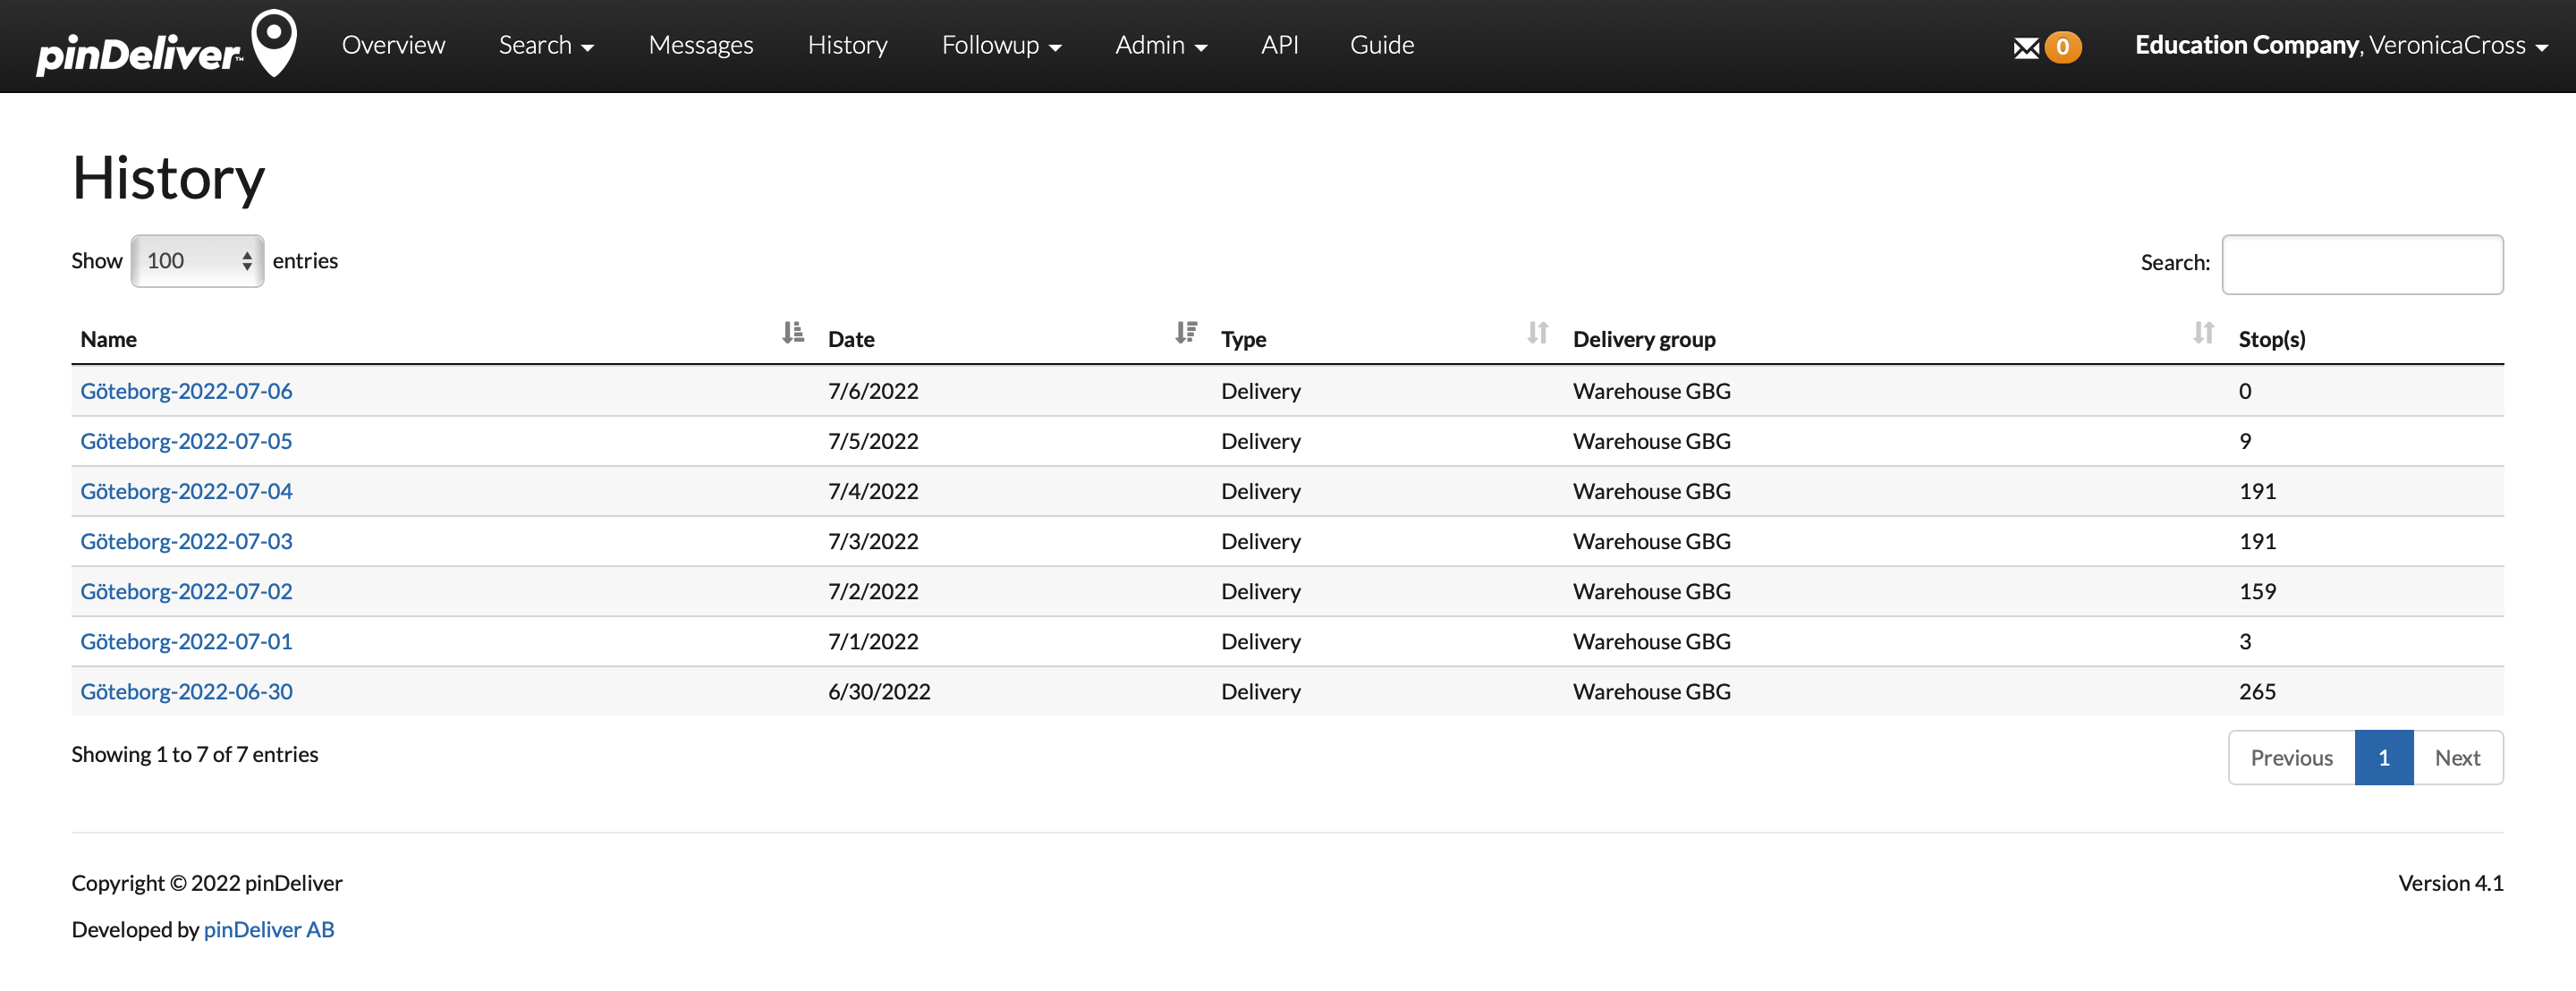
In most cases, there is no need to remove or archive completed orders. However, if an order is archived, you can locate it in the History section.
Follow Up
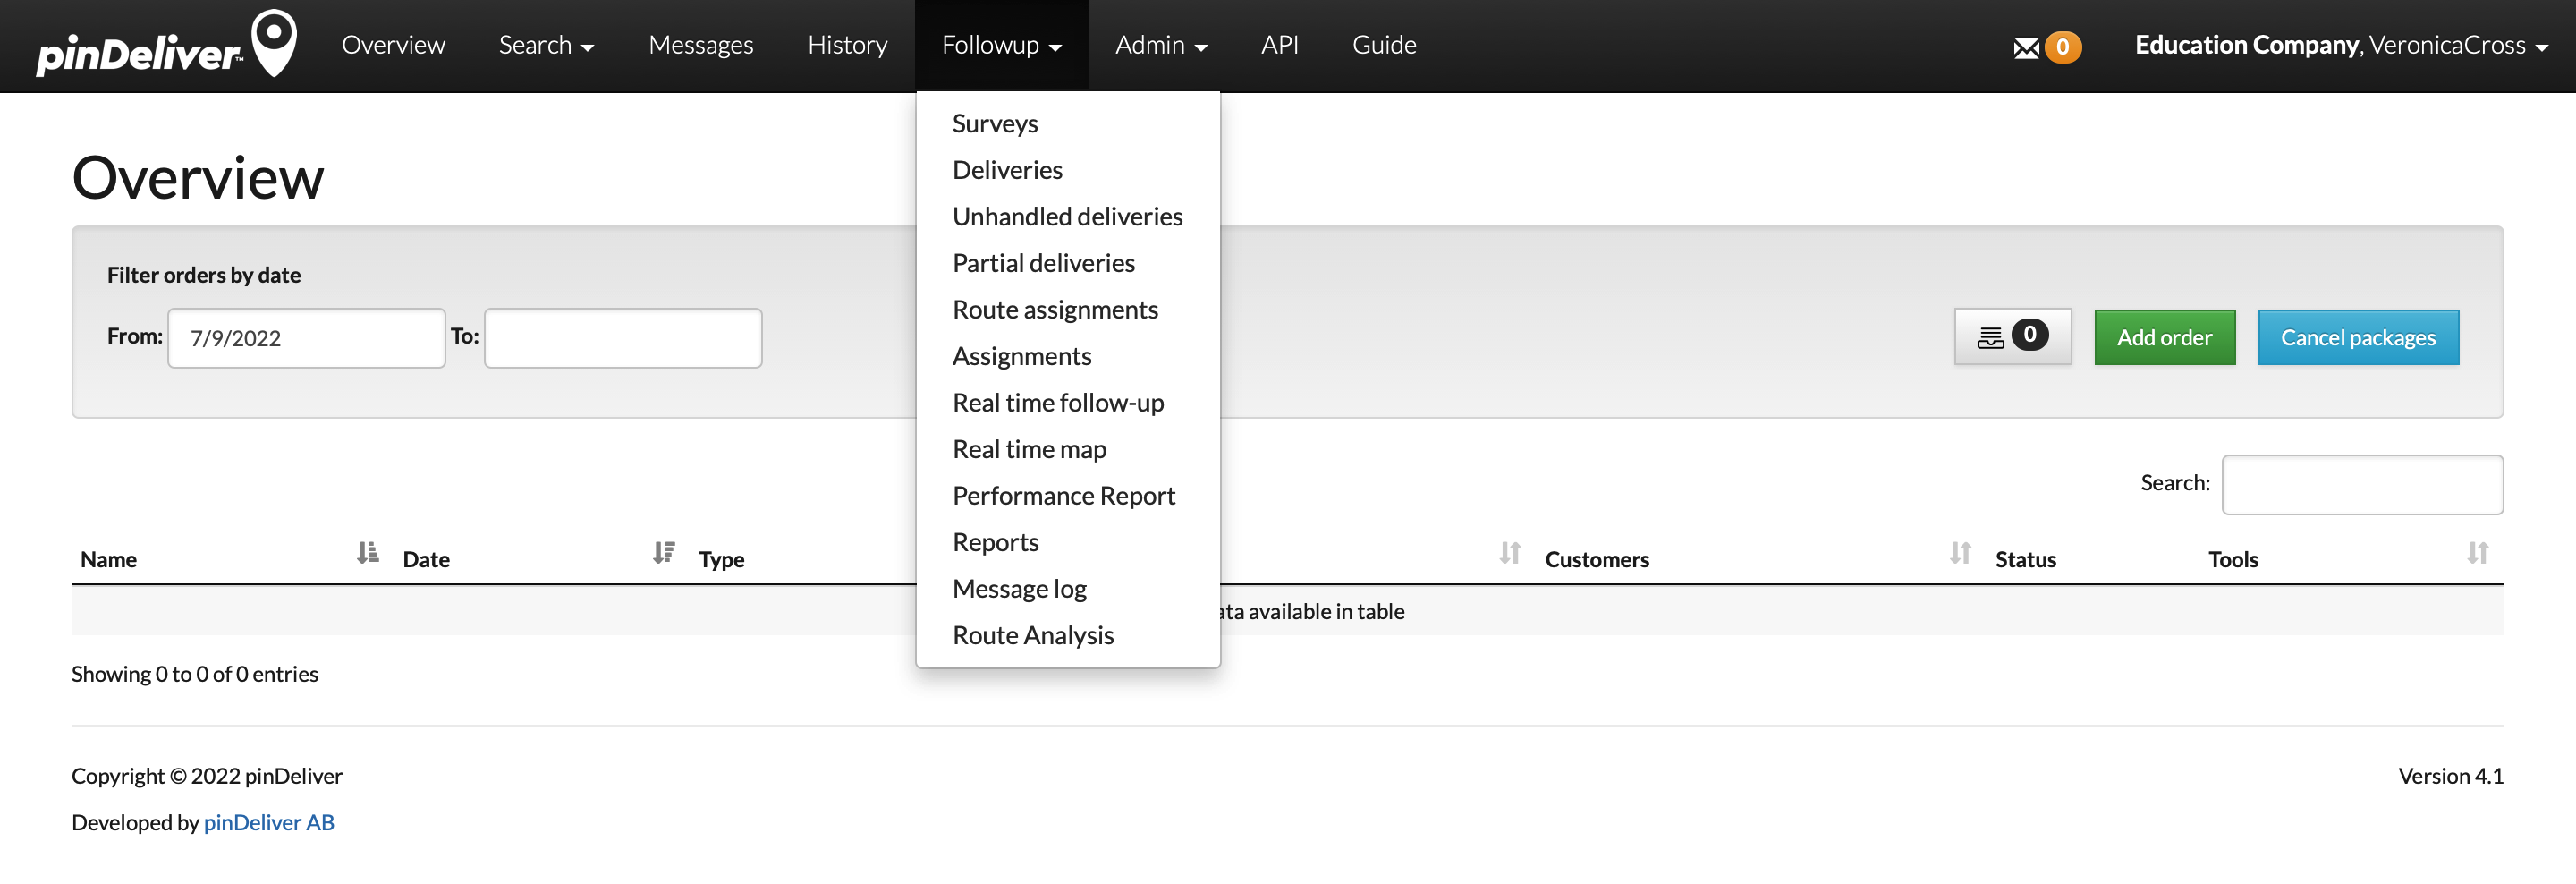
In the Follow up section, you will discover various reports and pages for displaying statistics, completed orders, and more.
Admin
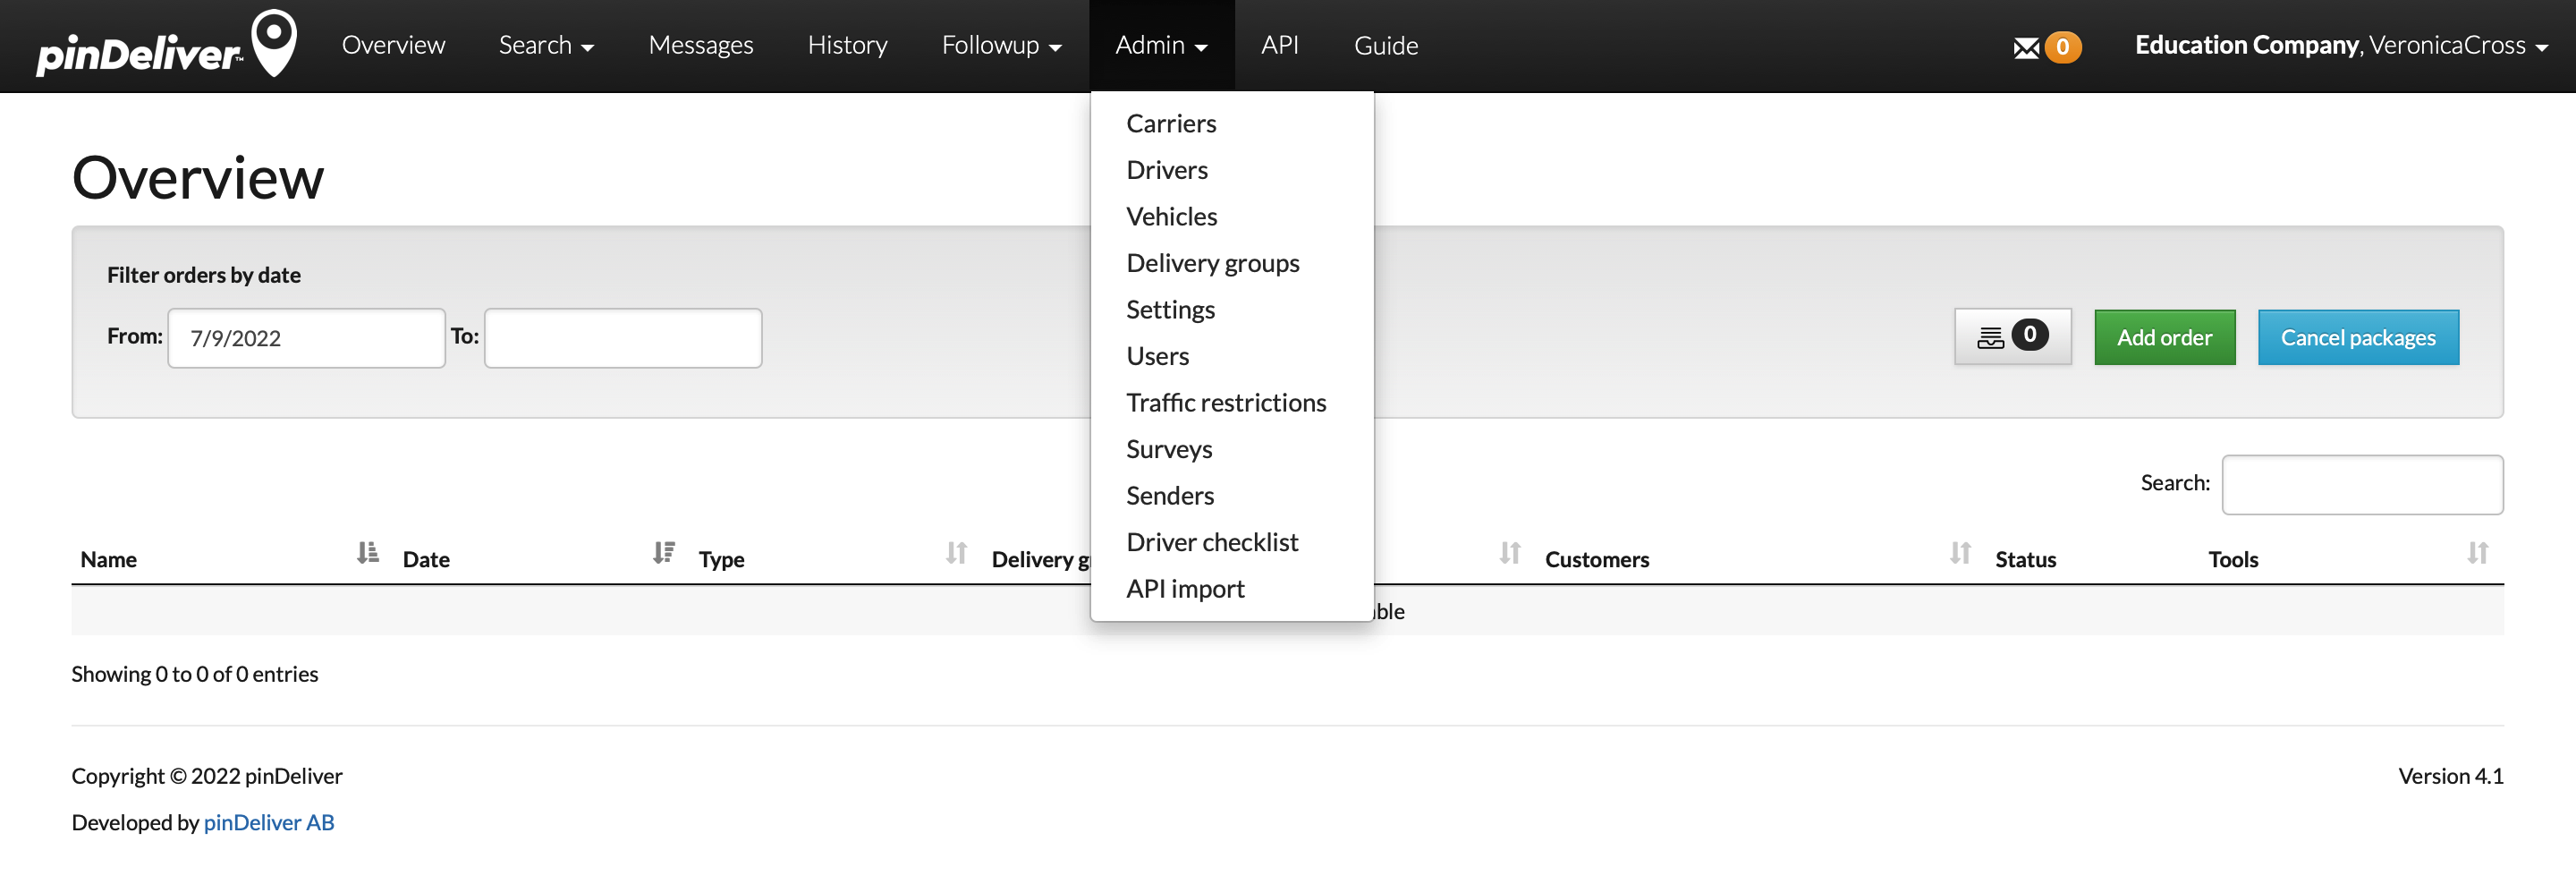
Within the Admin section, you will locate all available settings. These settings should be configured before starting your deliveries. However, you can certainly modify and incorporate additional settings as needed over time. More information about settings can be found in the Settings section.
API
The API section outlines various standard methods for REST communication with pinDeliver. These methods are consistently accessible, and your initial step involves creating an API user. Read more about this in the “Users” section in Office.
Alternatively, you can use pinDeliver Service Center as a middleware solution. Service Center serves purposes such as data population and business logic implementation, making integration more seamless for developers. Prior to starting any integration efforts, please contact the pinDeliver team.
Company name / User name
By clicking on your username in the upper right corner, a small menu with several options will be displayed.
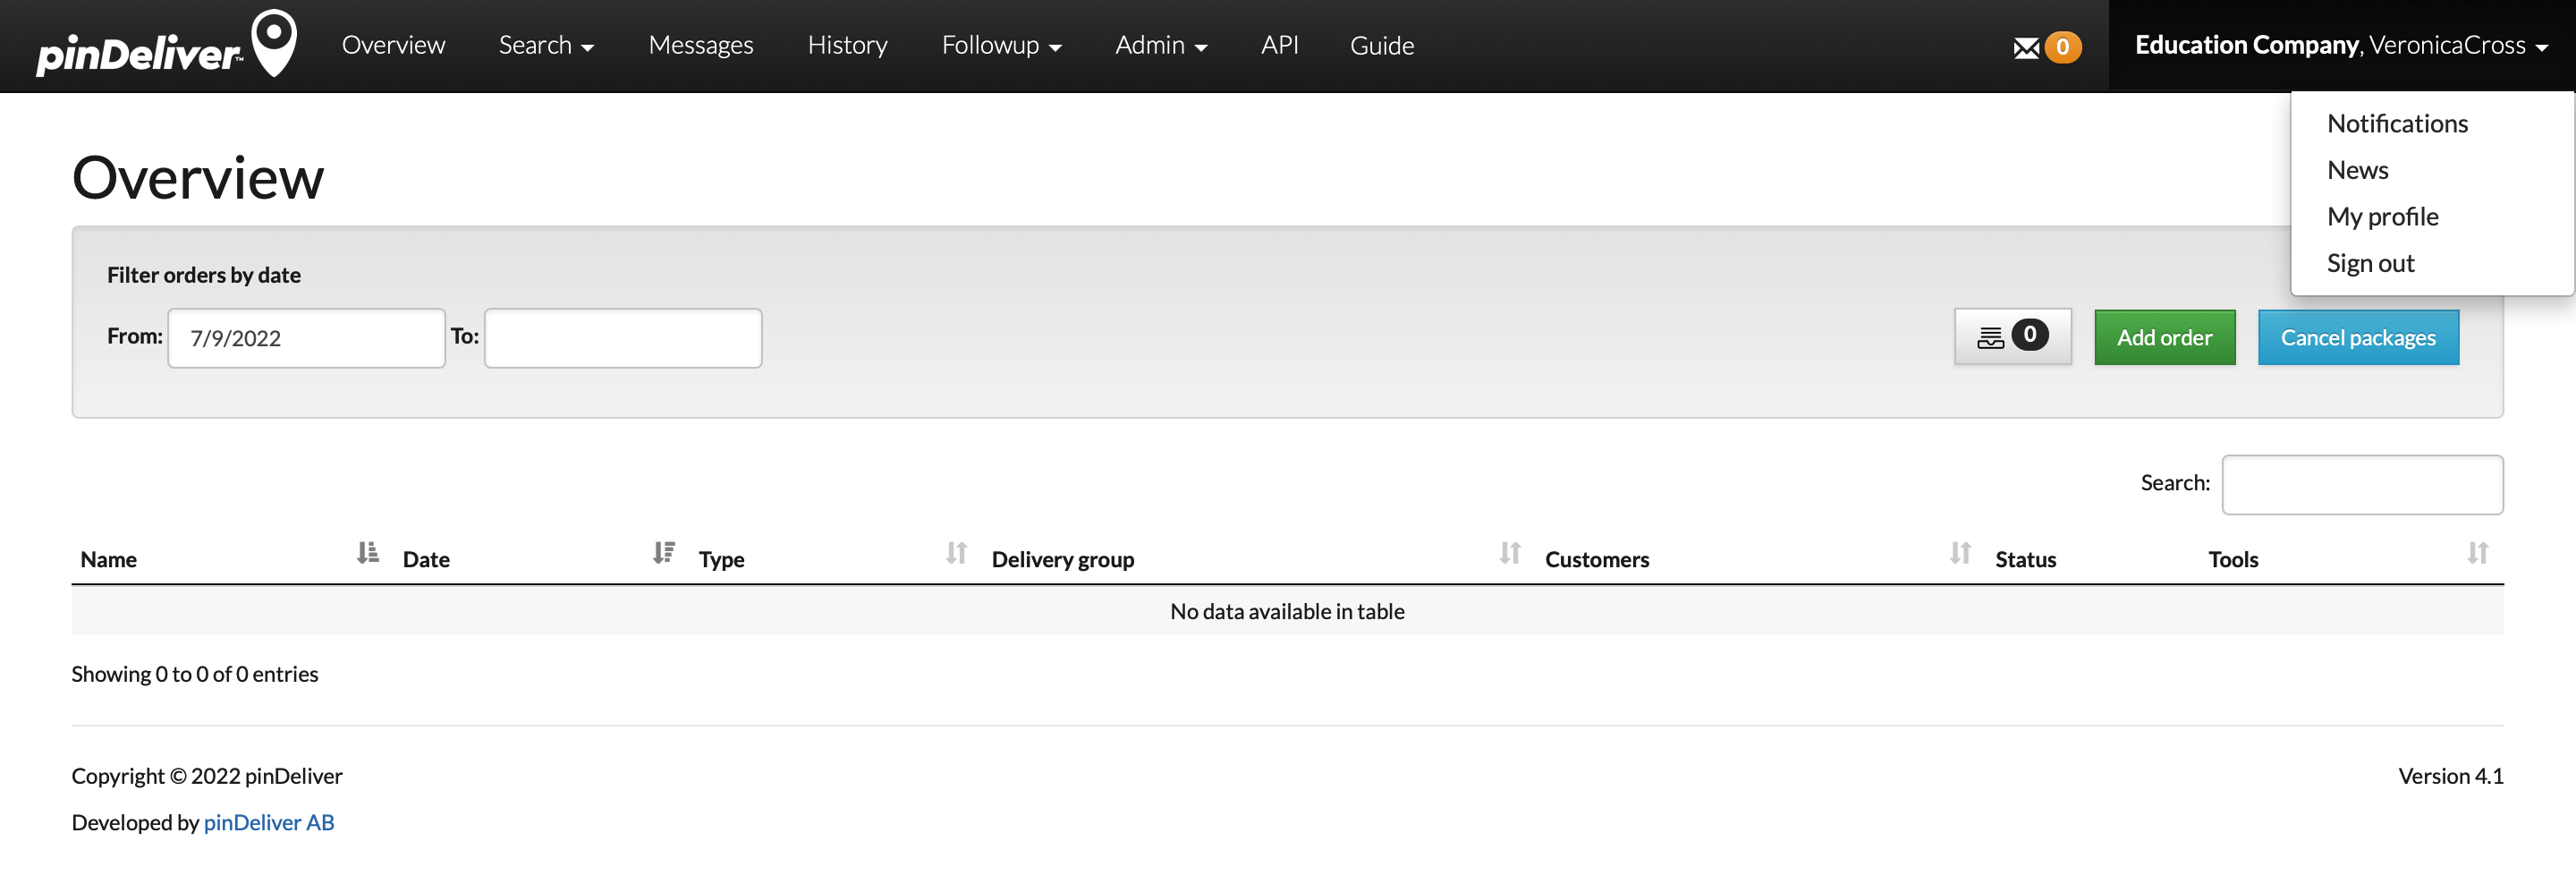
- Notifications: Receive smaller messages, such as notifications about customers with addresses having low GPS coordinate quality.
- News: Stay updated with release news and other important updates from pinDeliver.
- My profile: Manage your own contact information, password, language settings, and more.
- Log out: Log out of the current user session.

