Users
To access and use pinDeliver for planning and follow-up, you need to have a registered user account. This applies to all users except for drivers who utilize the Go-app for their work tasks and initiate the app through a clickable link, rather than using a traditional username and password login.
User accounts in pinDeliver can be configured with different permissions, granting access to specific platform functions and delivery groups.
When you create a new pinDeliver account, one user is automatically generated. However, you have the flexibility to add an unlimited number of users as needed.
There are three different login methods available:
- Username and password
- Microsoft Office 365 login
- API login (Note: It is not recommended to use an API user for interface login purposes)
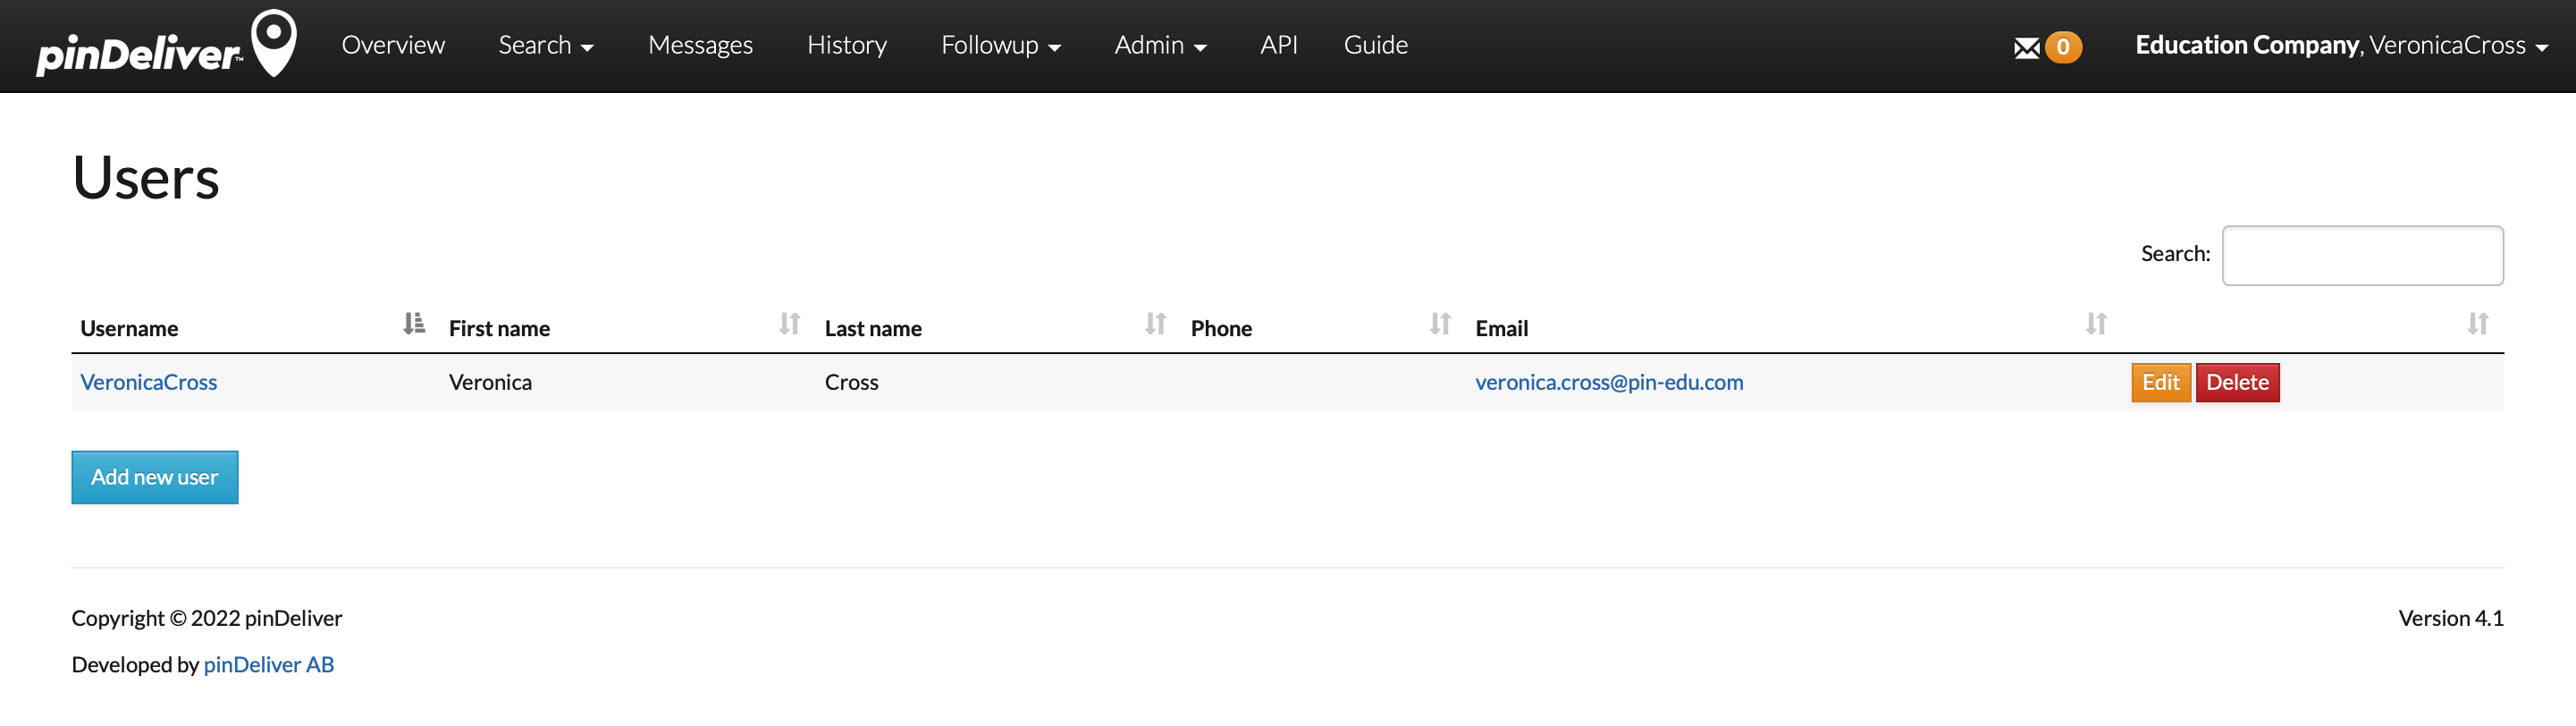
To create a new user, navigate to Admin/Users in the main menu. A list of all existing users will be displayed, and you can simply click Add new user at the bottom of the list. User settings are organized into different tabs, as described below. Fill in the relevant fields on the user card and click Create user to save the user profile. For detailed explanations of each tab and its fields, refer to the image and field descriptions below.
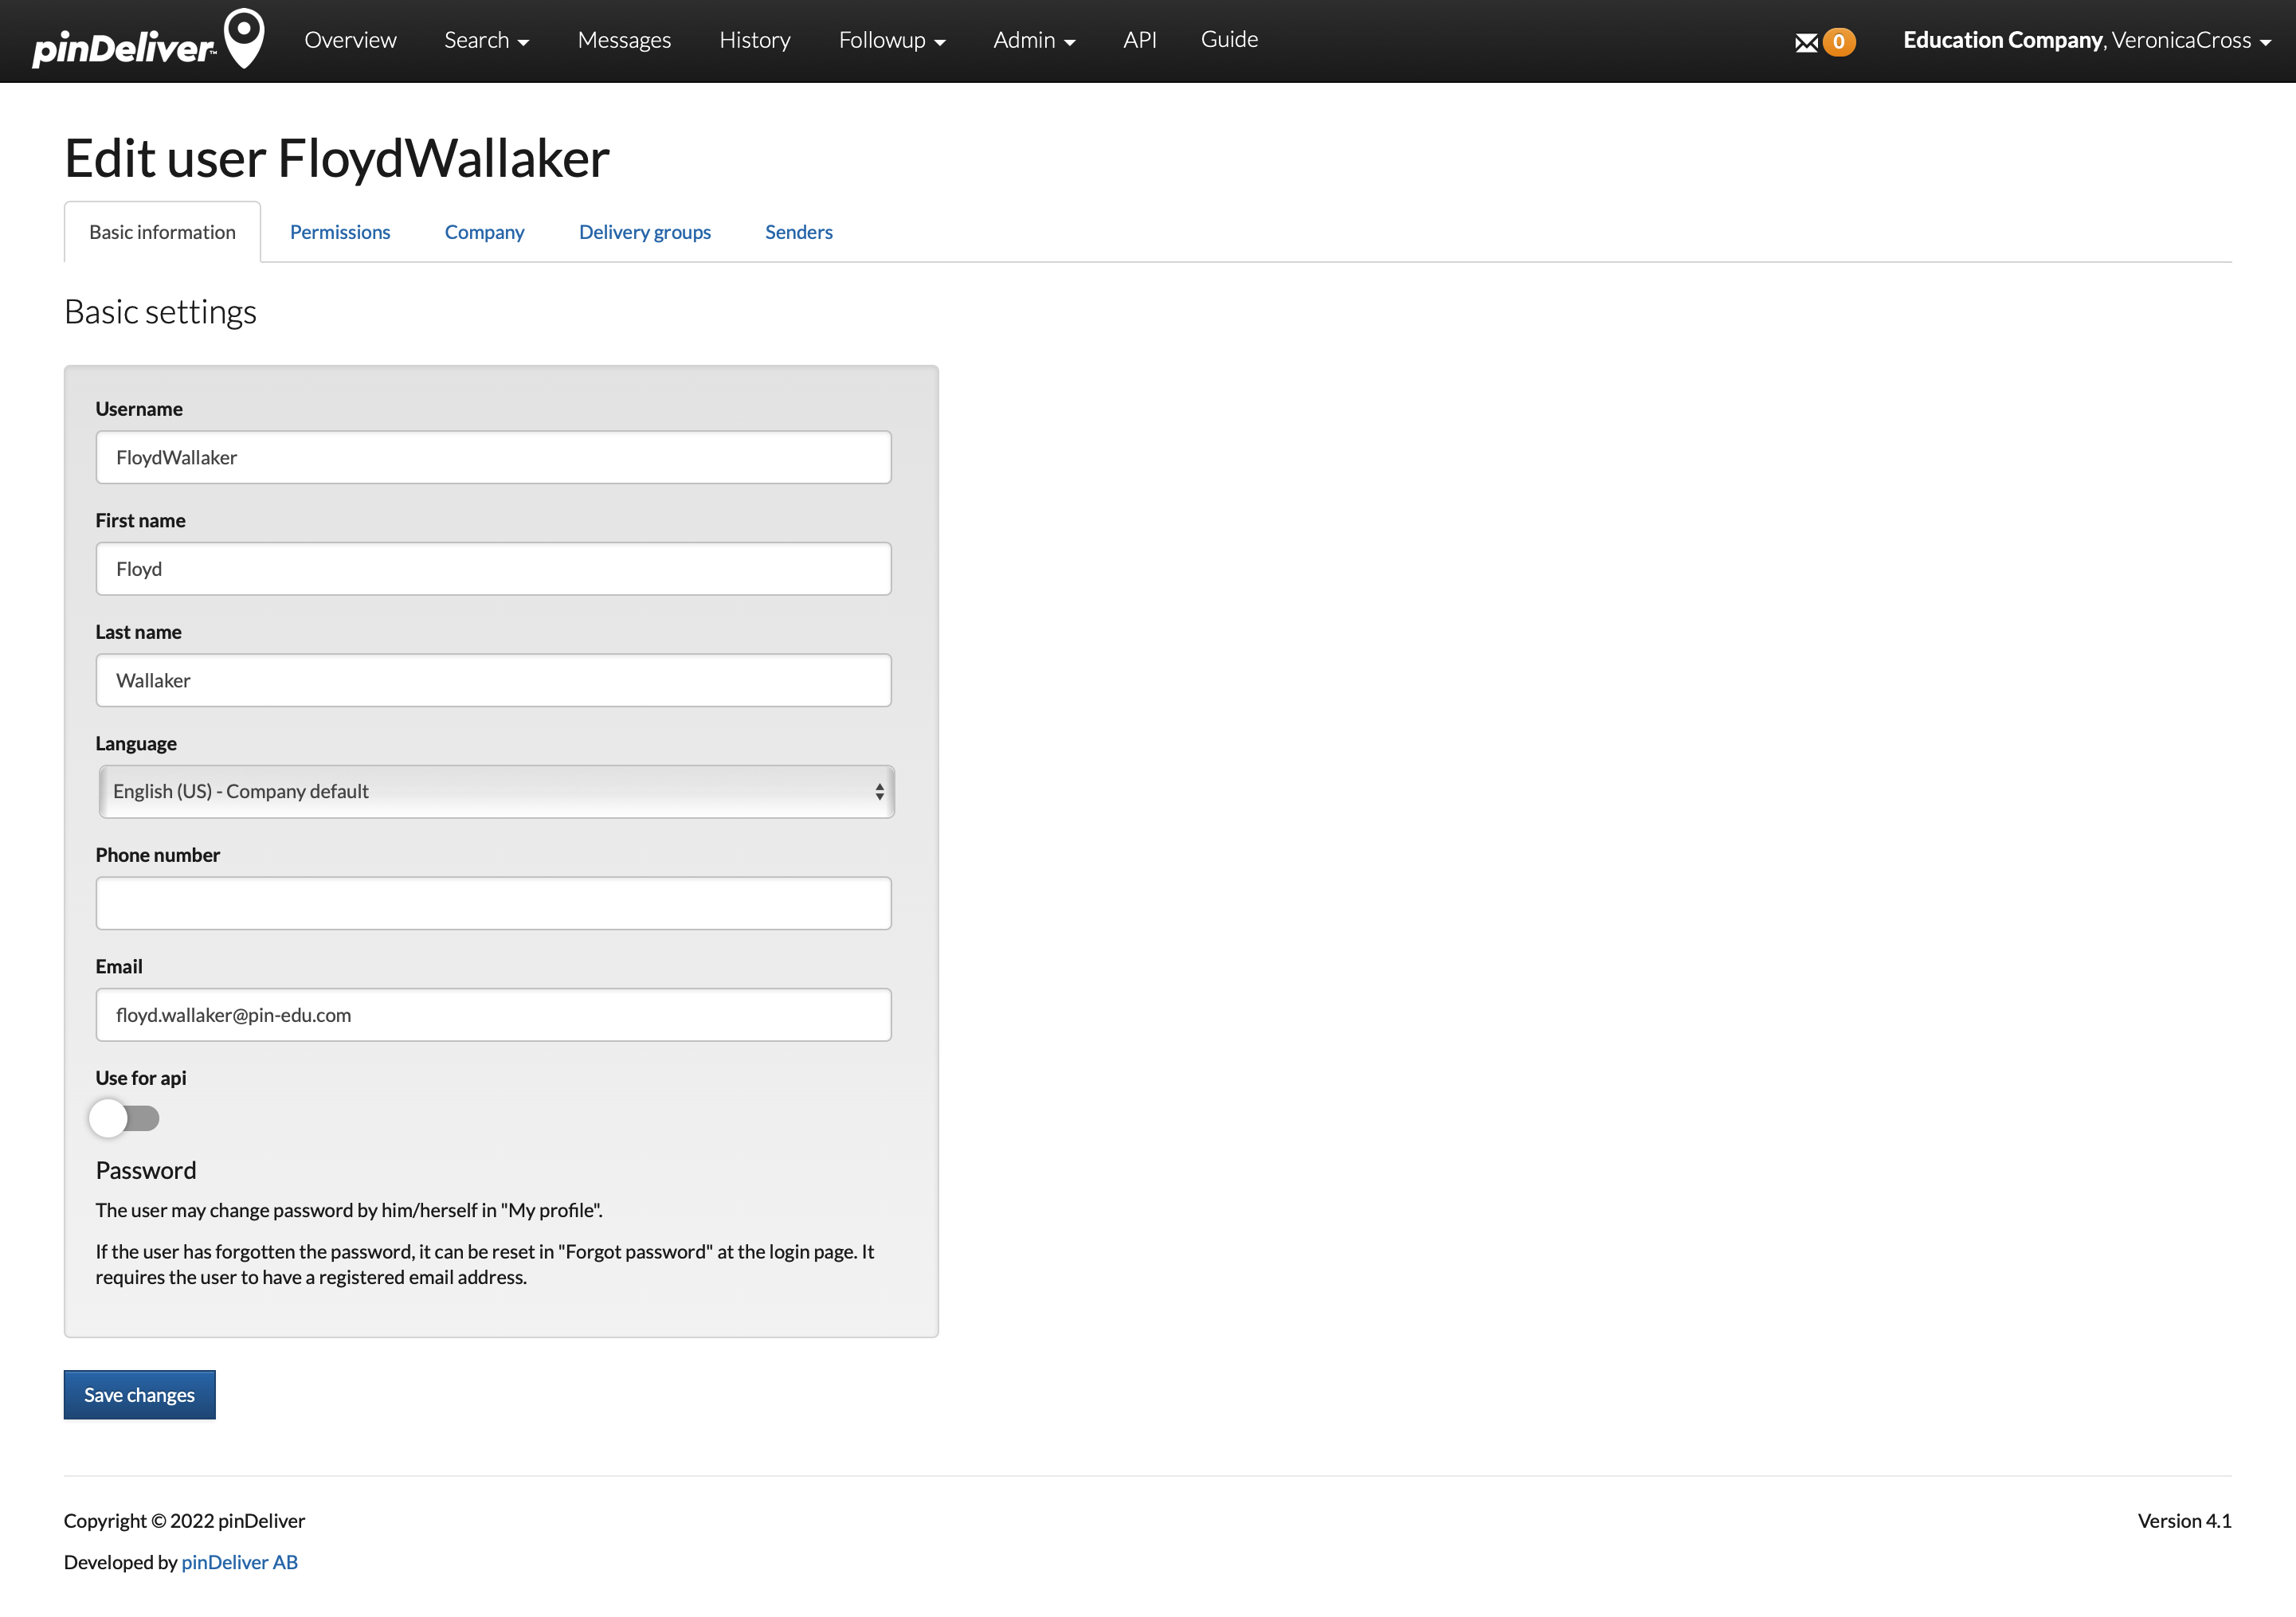
Basic information
The first settings tab is the fundamental configuration section, where you provide essential information such as the user's name and related details.
| Field | Explanation |
|---|---|
| Username | The user's login username. If Office 365 is used as the login method, this should be the Office 365 account, typically the user's email address. |
| First name | The user's first name. |
| Last name | The user's last name. |
| Language | Choose the language preference for the pinDeliver interface. |
| Phone number | The user's phone number (for reference). |
| The user's email address. | |
| Use for api | Indicate whether the user should be used for integration purposes. If selected, an API key is required and can be generated by clicking New key. |
| Password | Set a password for the user. This password must be changed upon the user's first login. It is not used for Office 365 or API users. |
| Confirm password | Re-enter the same password for confirmation. |
| Api key | Displays the generated API key for an API user. |
Permissions
After creating the user, the next step is to assign permissions to them. Permissions determine the user's access to various functionalities within the platform. You can individually select specific functionalities for each user. Below, you will find suggested User permission groups for different user roles, but ultimately, the choice depends on your company's needs and preferences.

| Permission | Explanation |
|---|---|
| Optimize route | Allows the user to perform route optimization and make modifications to existing routes. |
| Assign route | Enables the user to assign drivers to specific routes. |
| Manage vehicles | Enables the user to add, modify, and delete vehicles. |
| Manage drivers | Enables the user to add, modify, and delete drivers. |
| Manage delivery groups | Enables the user to add, modify, and delete delivery groups. |
| Manage users | Enables the user to add, modify, and delete user accounts. |
| View reports | Enables the user to view and export follow-up reports. |
| Manage senders | Enables the user to add, modify, and delete senders. |
| Manage orders | Enables the user to add, modify, and delete planning orders and customer orders. |
| Send customer messages manually | Enables the user to manually trigger messages to customers from the Office interface. |
| API documentation | Provides access to the API menu. |
| Administer company | Enables the user to administer company settings that apply to the entire license (all delivery groups, senders, etc.). |
| Can view driver contact details | Provides access to view driver details such as phone numbers and email addresses. |
| Manage surveys | Enables the user to add, modify, and delete surveys and activate/deactivate them. |
| Manage traffic restrictions | Enables the user to add, modify, and delete traffic restrictions for the entire license. |
Permission groups/User roles
Predefined permission groups, also known as user roles, are not provided in pinDeliver. This flexibility allows each company to tailor permissions according to its unique requirements. Below, you will find suggested user roles, and a specific user can hold multiple roles, combining permissions as needed:
- Transport Planner: Users with this role focus on transport planning.
- Customer Service: Users in this role handle customer service tasks.
- Administrator: Administrators have authority over various platform settings.
- Superuser: Superusers possess comprehensive access and control within the system, often a combination of the above roles.
| Permission | Transport planning | Customer service | Administrator | Superuser |
|---|---|---|---|---|
| Optimize route | X | |||
| Assign route | X | |||
| Manage vehicles | X | X | ||
| Manage drivers | X | X | ||
| Manage delivery groups | X | X | ||
| Manage users | X | X | ||
| View reports | X | X | X | |
| Manage senders | X | X | ||
| Manage orders | X | |||
| Send customer messages manually | X | |||
| API documentation | X | |||
| Administer company | X | |||
| Can view driver contact details | X | X | ||
| Manage surveys | X | |||
| Manage traffic restrictions | X | X |
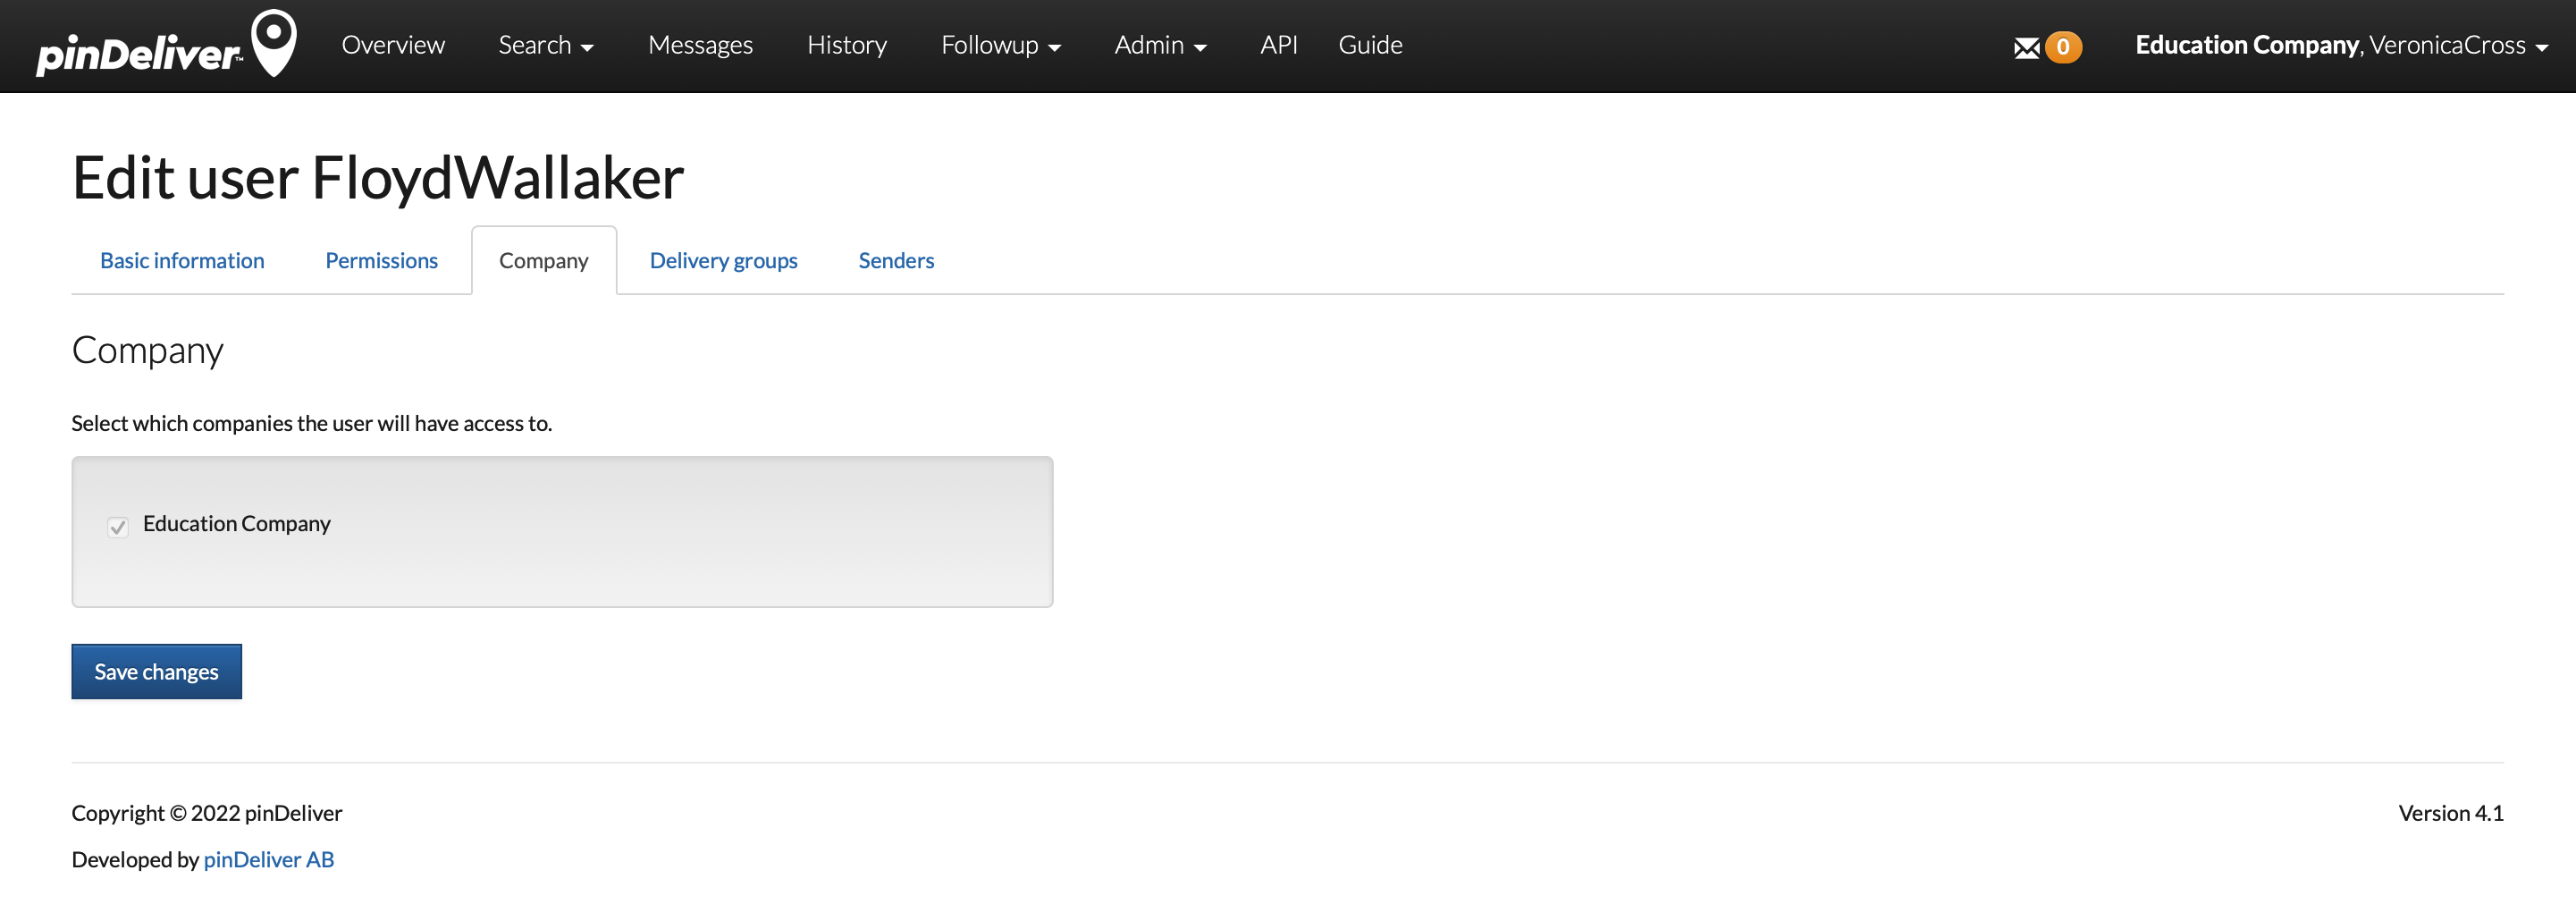
Company
In this tab, you determine which companies the user should be able to access. In most cases, users will only have access to their own company.
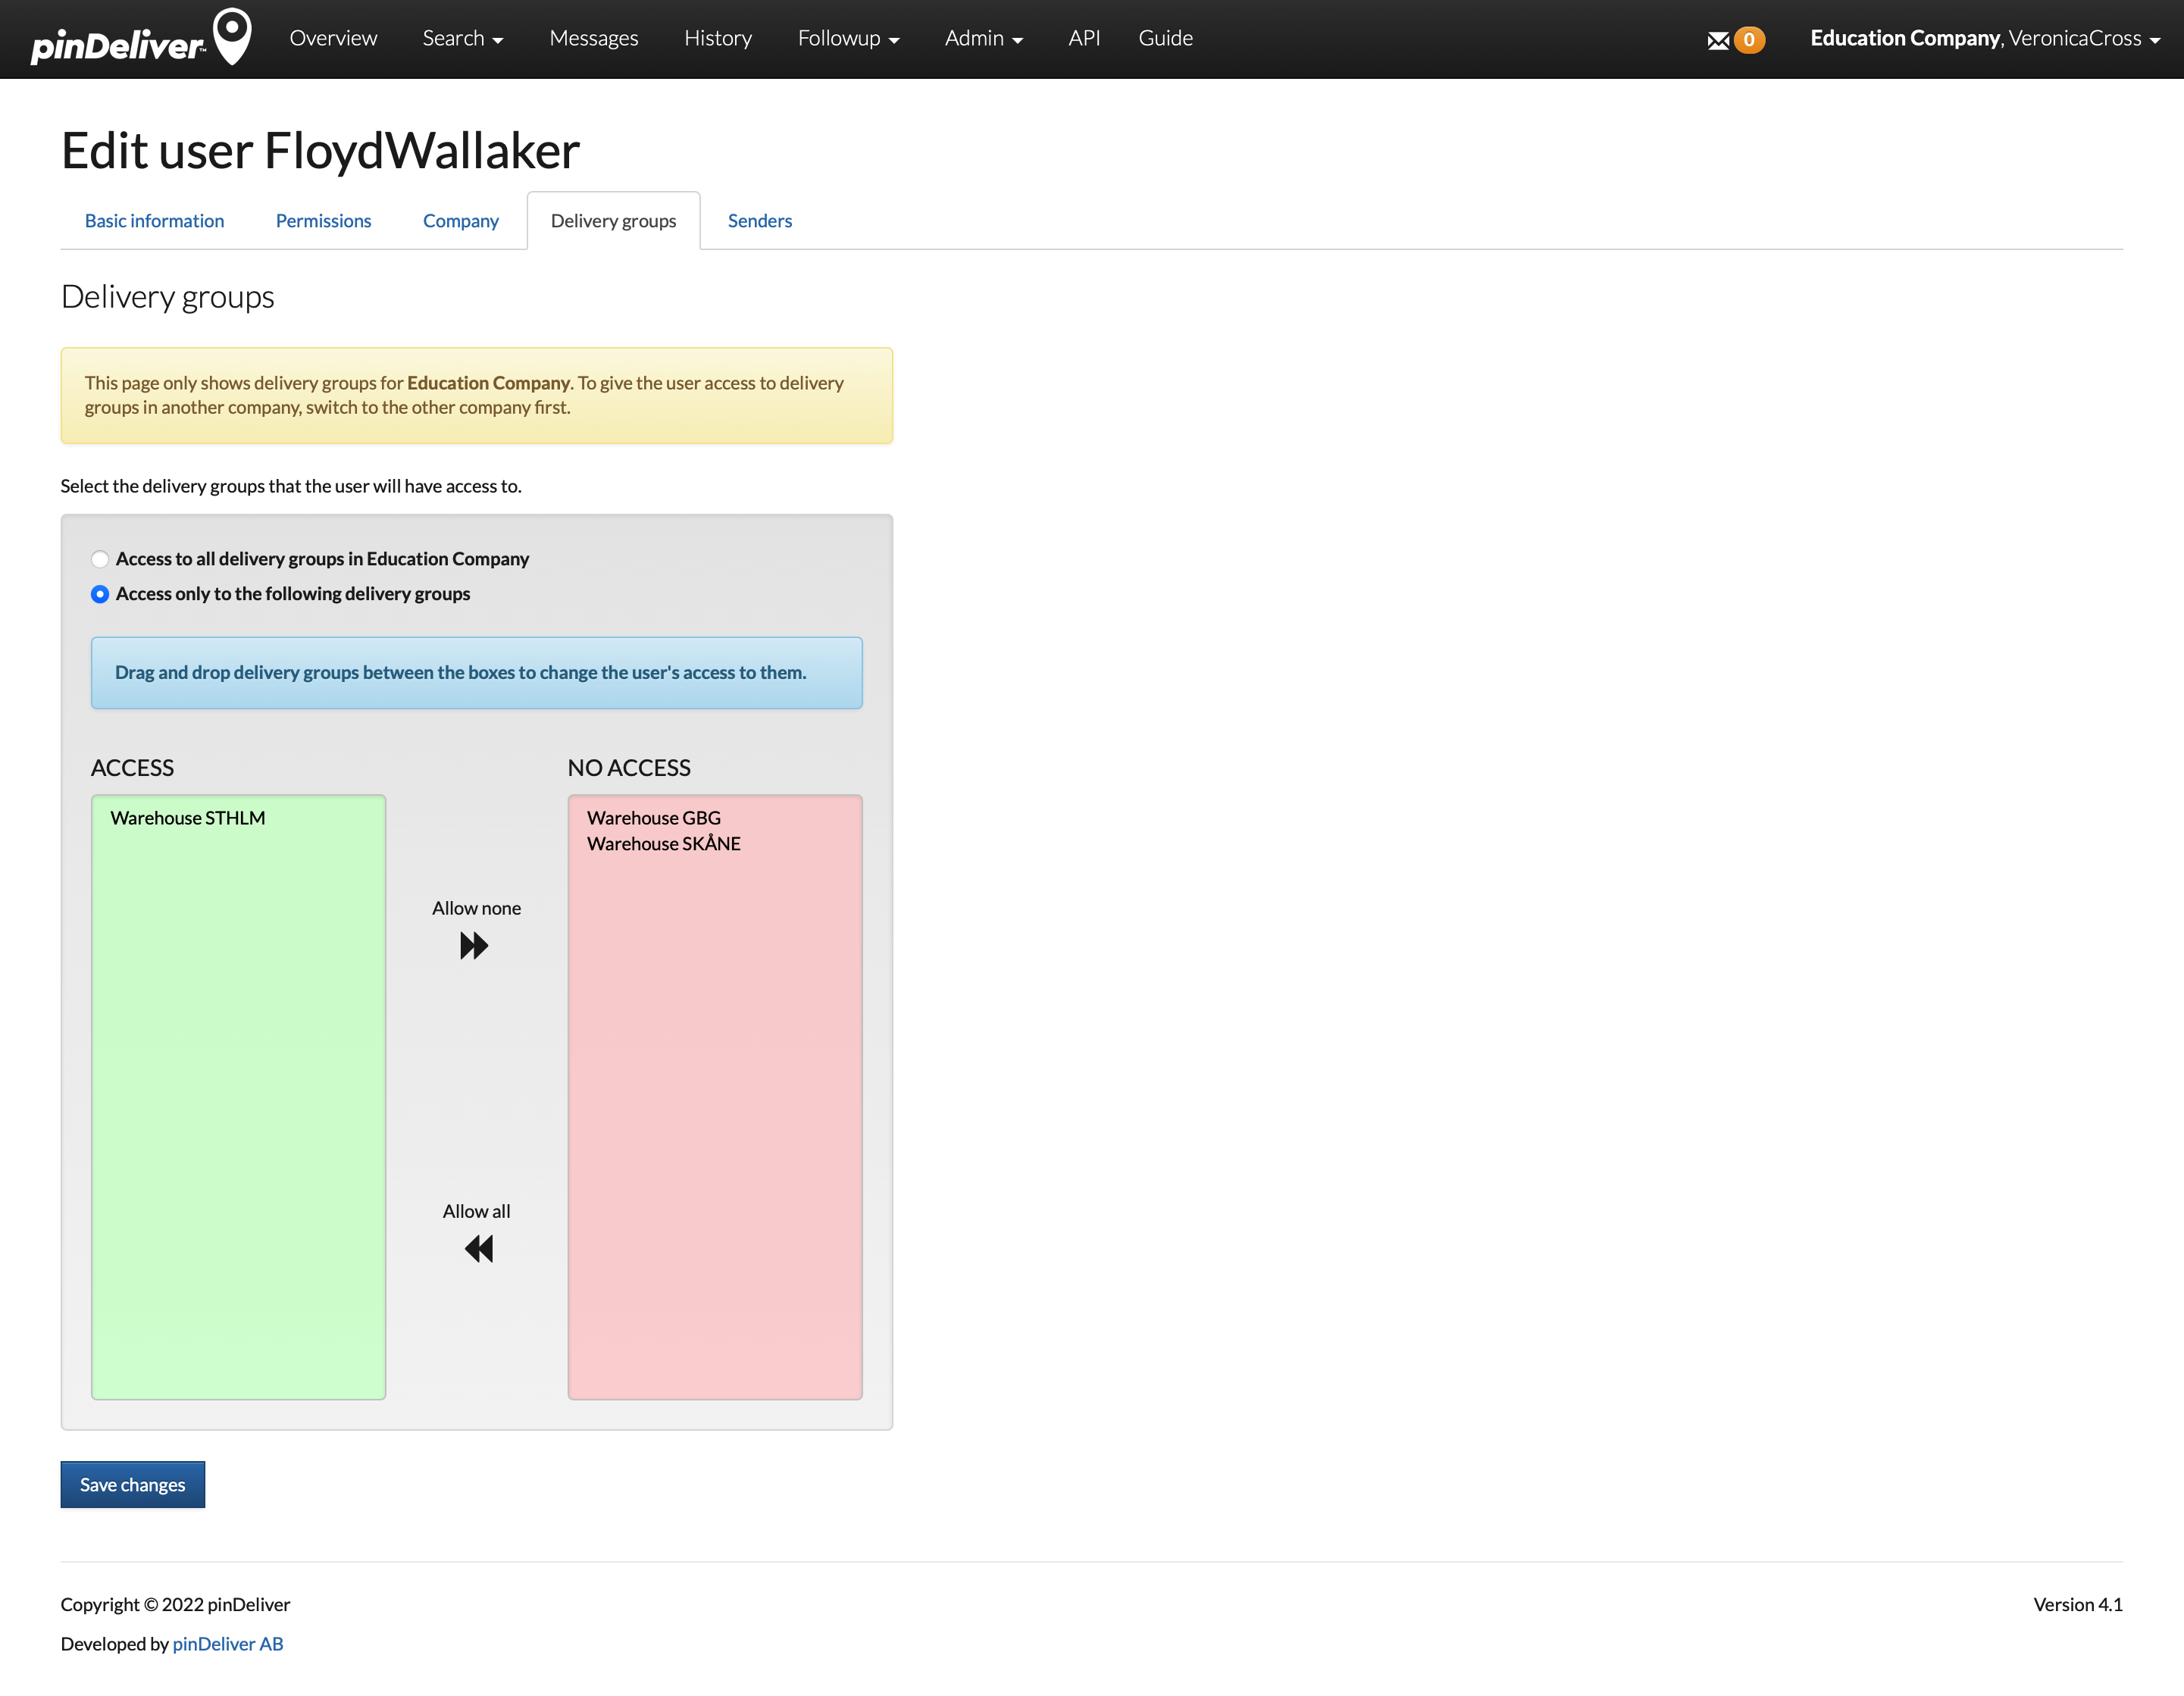
Delivery groups
In this tab, you specify which delivery groups a user should be able to access. By default, users have access to all delivery groups, so no changes are required. However, if you need to restrict access, you can choose Access only to the following delivery groups and then use drag-and-drop to move the delivery groups from the red No access section to the green Access section on the left. You can also use the arrows between the sections to move all groups at once, which can be helpful if a user should have access to most or only a few delivery groups and you want to add or remove access accordingly.
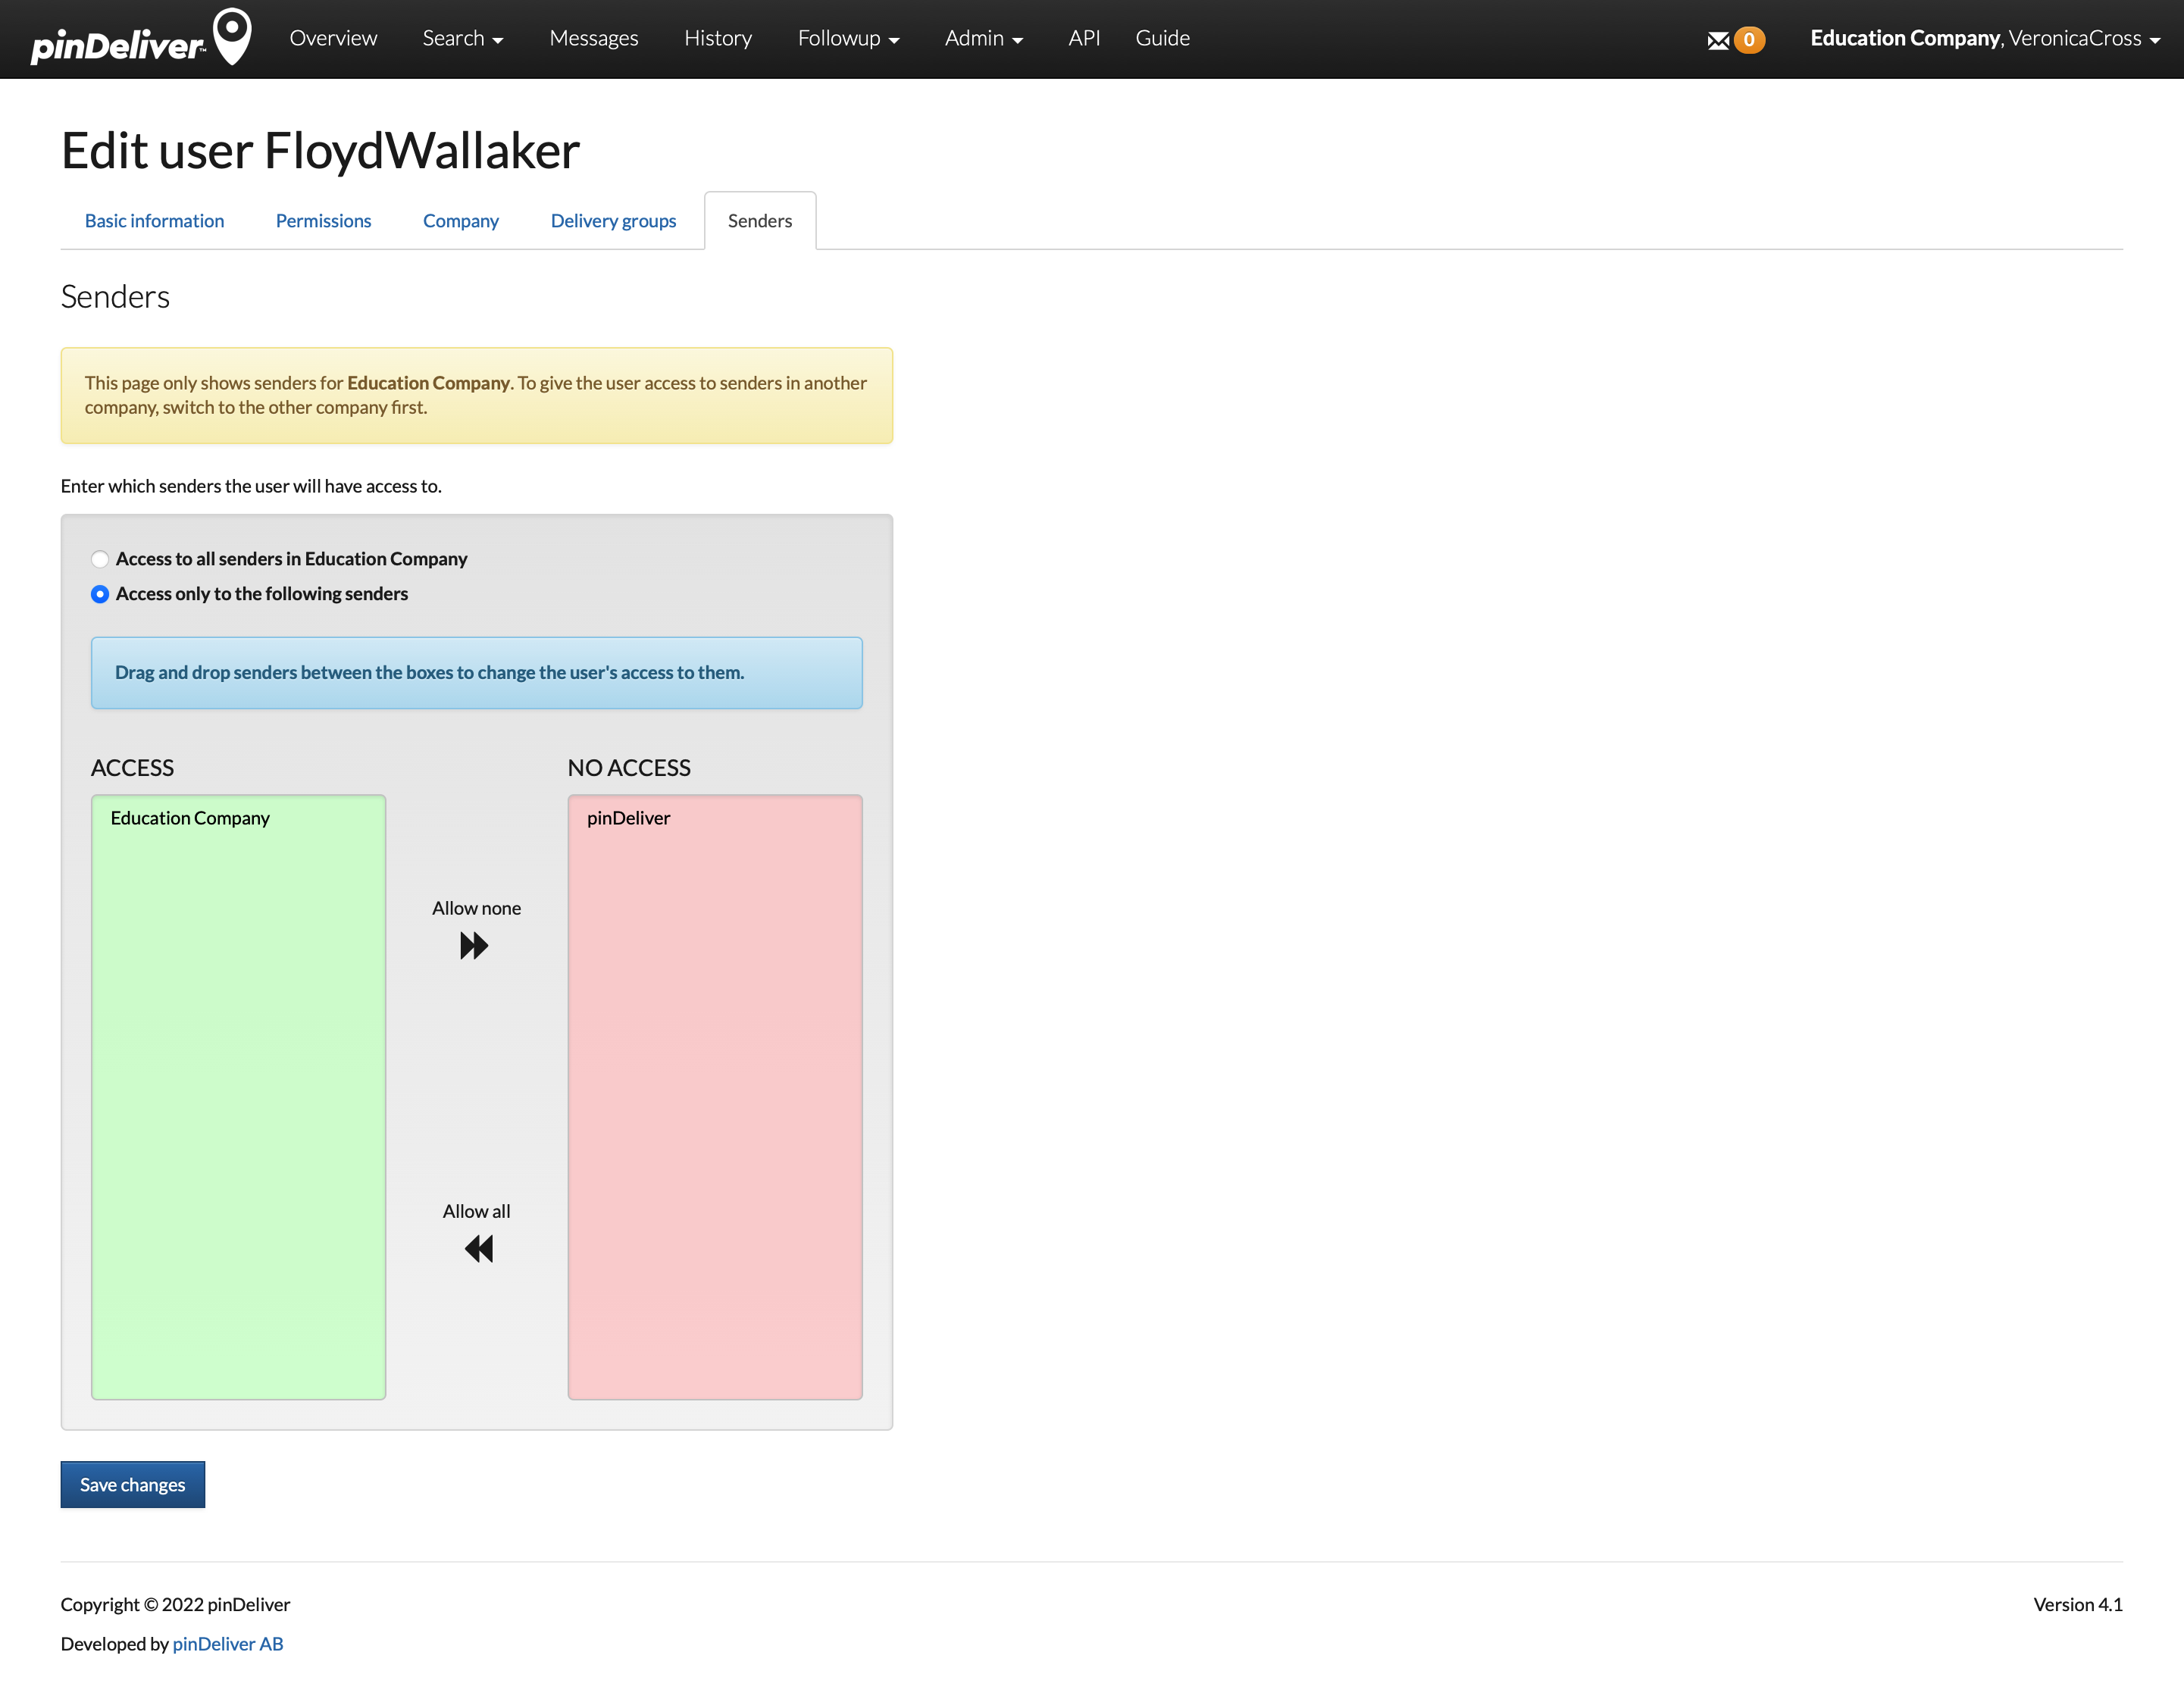
Senders
In this tab, you specify which senders a user should be able to access. By default, users have access to all senders, so no changes are required. However, if you need to restrict access, you can choose Access only to the following senders and then use drag-and-drop to move the senders from the red No access section to the green Access section on the left. You can also use the arrows between the sections to move all senders at once, which can be helpful if a user should have access to most or only a few senders and you want to add or remove access accordingly.